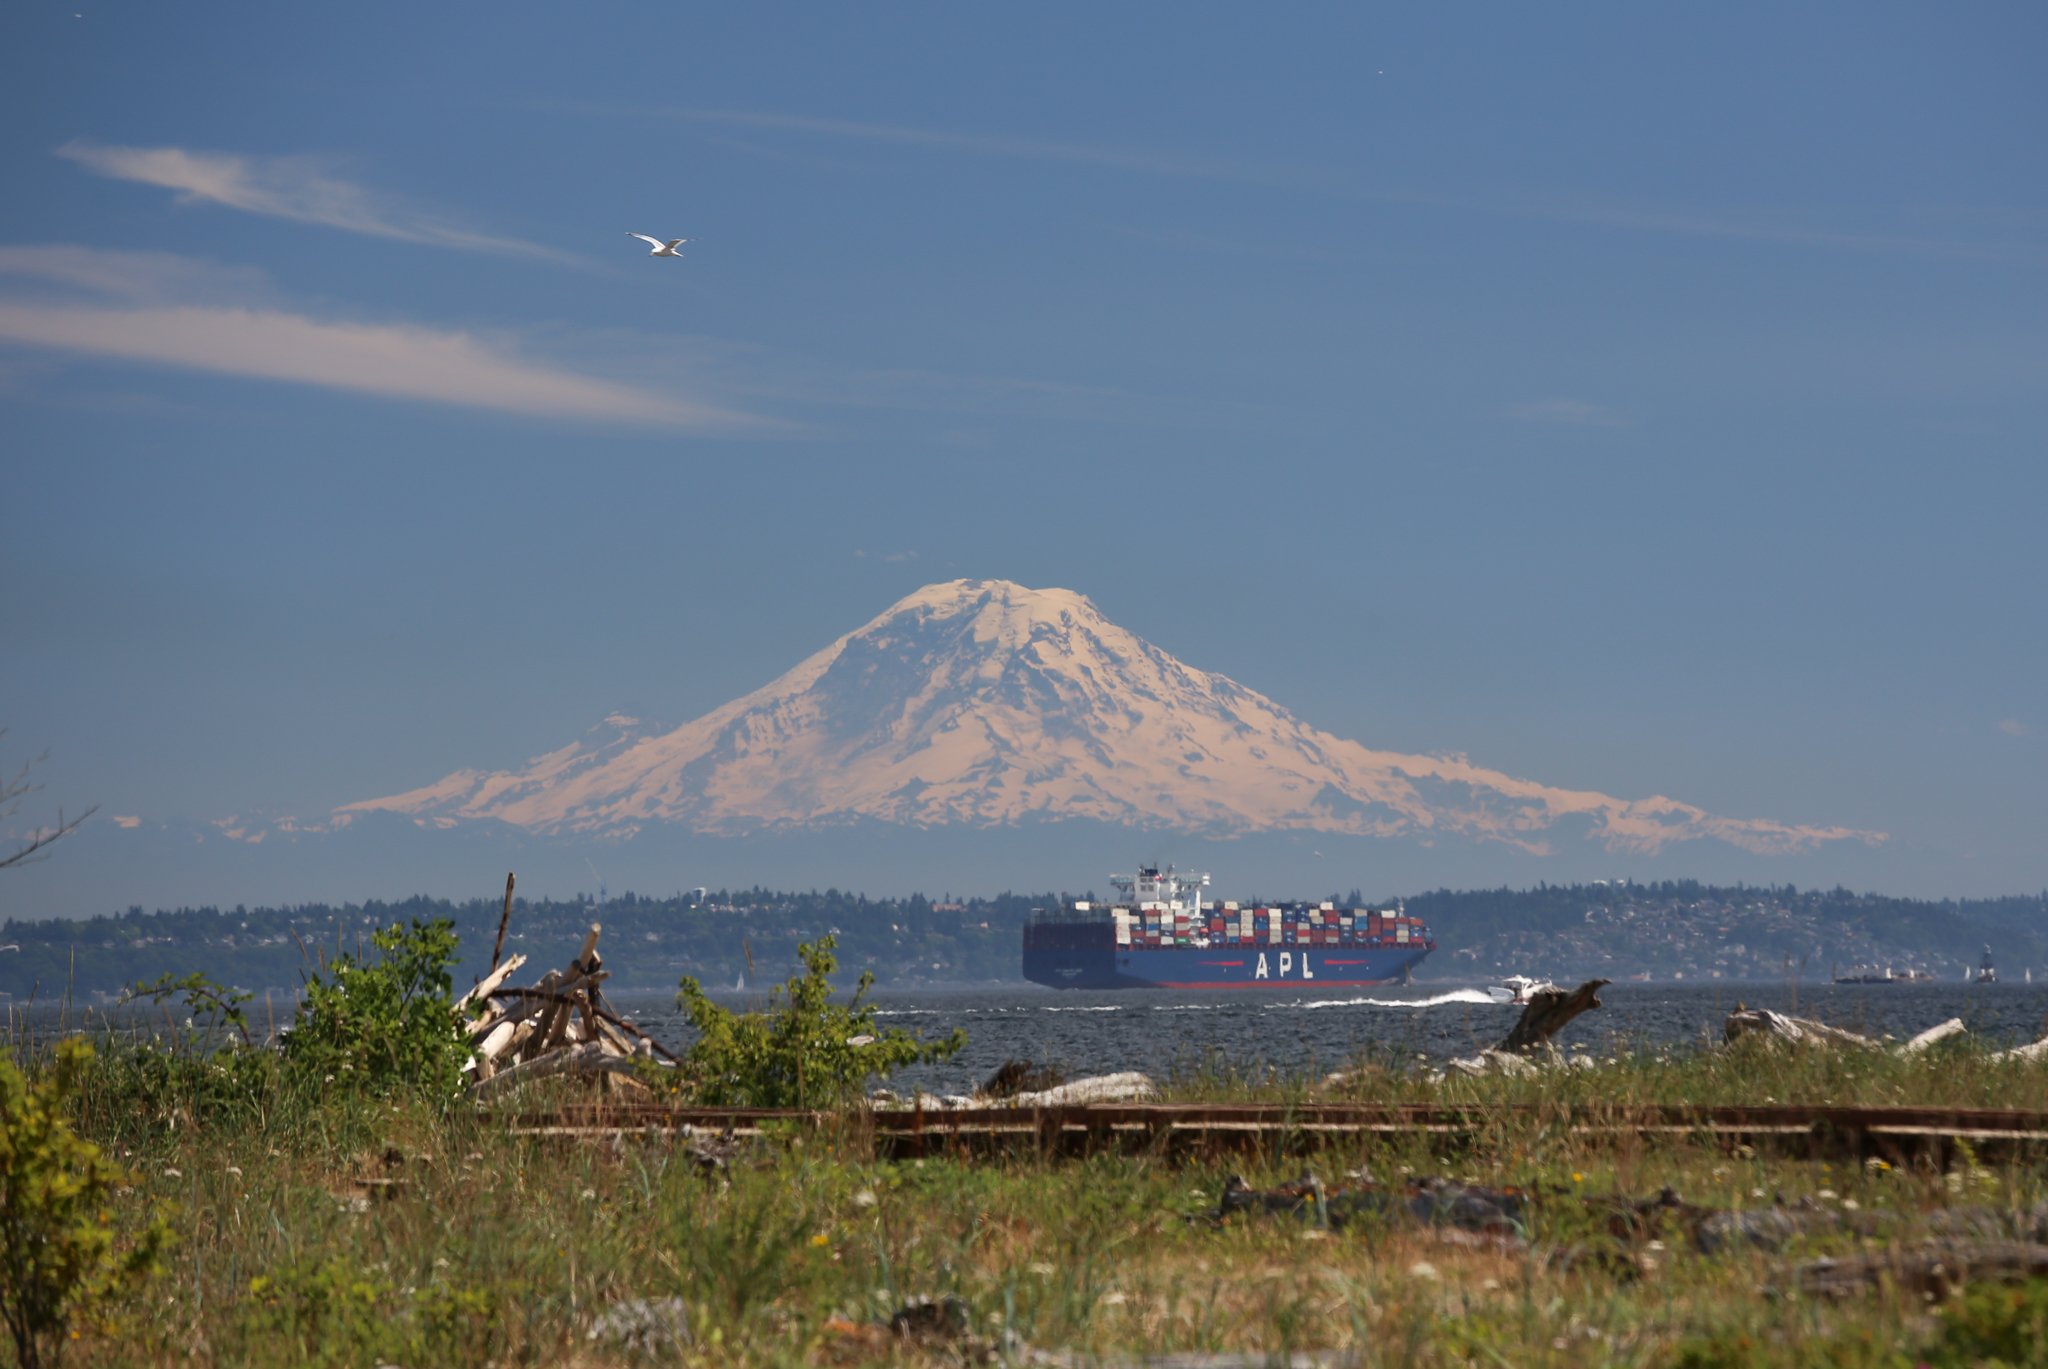
Mount Rainier, standing at 14,411 feet, is a challenging yet rewarding climb for experienced mountaineers. A DIY climb of Mount Rainier requires careful planning, proper gear, and physical preparation. This guide covers essential equipment, route planning, permit requirements, and acclimatization strategies for a successful summit attempt. Whether you’re a seasoned climber or aspiring mountaineer, this comprehensive resource will help you prepare for the adventure of a lifetime on one of North America’s most iconic peaks.
What Gear is Essential for a DIY Mount Rainier Climb?

A successful DIY climb of Mount Rainier demands proper equipment. Here’s a list of essential gear items:
- Crampons
- Type: 12-point steel or aluminum
- Examples: Grivel G22, Black Diamond Sabretooth
- Weight: 32-40 oz (900-1130 grams)
-
Cost: $150-$250
-
Ice Axe
- Type: With leash
- Examples: Black Diamond Viper, Petzl Sum’Tec
- Length: 65-75 cm (based on height)
- Weight: 13-17 oz (370-480 grams)
-
Cost: $100-$200
-
4-Season Tent
- Examples: Bibler Eldorado 2P, MSR Elixir 2
- Weight: 50-60 oz (1400-1700 grams) for tent body
-
Cost: $400-$600
-
Mountaineering Boots
- Type: Crampon-compatible, single or double
- Examples: La Sportiva Nepal, Boreal G1
- Weight: 30-40 oz (850-1130 grams) per boot
-
Cost: $400-$600
-
Climbing Harness
- Type: Adjustable alpine climbing harness
- Examples: Black Diamond Couloir, Arc’teryx AR-385a
- Weight: 8-12 oz (230-340 grams)
-
Cost: $100-$200
-
Sleeping Bag
- Temperature Rating: 0°F–30°F (-18°C to -1°C)
- Examples: Western Mountaineering VersaLite, Marmot Col -20
- Weight: 2-4 lbs (900-1800 grams)
-
Cost: $200-$500
-
Sleeping Pad
- Type: Insulated
- Examples: Therm-a-Rest XTherm, Exped SynMat HyperLite
- Weight: 1-2 lbs (450-900 grams)
- Cost: $100-$200
How to Plan Your DIY Mount Rainier Route?

The Disappointment Cleaver Route is the most popular for climbing Mount Rainier. Here’s a day-by-day breakdown:
Day 1: Paradise to Camp Muir
- Elevation Gain: 4,600 feet
- Distance: 4.5 miles
- Time: 4-6 hours
- Trail Conditions: Well-marked, snow and ice in higher elevations
- Key Waypoints: Paradise Visitor Center, Pebble Creek, Camp Muir
Day 2: Camp Muir to Ingraham Flats or High Camp
- Elevation Gain: 2,000-3,000 feet
- Distance: 2-3 miles
- Time: 3-5 hours
- Trail Conditions: Snow and ice, potential crevasses
- Key Waypoints: Camp Muir, Ingraham Flats, High Camp
Day 3: Summit Attempt and Descent
- Elevation Gain: 4,000 feet to the summit
- Distance: 4-5 miles round trip
- Time: 8-12 hours
- Trail Conditions: Steep snow and ice, potential rockfall and crevasses
- Key Waypoints: High Camp, Disappointment Cleaver, Summit, return to High Camp and Camp Muir
What are the Permit Requirements for a DIY Mount Rainier Climb?
Obtaining the necessary permits is crucial for a DIY climb of Mount Rainier. Here’s what you need to know:
- Climbing Permit
- Cost: $52 per person (plus $30 reservation fee if reserved in advance)
- Application Timeline: Reservations open on March 15th for the upcoming season
-
First-come, first-served permits available if spots are open
-
Wilderness Permit
-
Required for overnight stays in the Mount Rainier Wilderness
-
Regulations
- Register at Paradise Visitor Center or White River Wilderness Information Center before climbing
- Carry a copy of your permit during the climb
-
Adhere to Leave No Trace principles
-
Quota System
- In place to manage the number of climbers on the mountain
- Specific quotas vary by route and season
How to Acclimatize for a DIY Mount Rainier Climb?
Proper acclimatization is essential for a successful and safe climb. Follow these strategies:
- Ascent Rates
- General Rule: Ascend no more than 1,000 feet per day
-
Include rest days in your itinerary
-
Hydration Tips
- Drink 3-4 liters of water per day
-
Use electrolyte replacement drinks
-
Altitude Sickness Awareness
- Mild Symptoms: Headache, fatigue, nausea, loss of appetite
- Severe Symptoms: Severe headache, confusion, difficulty walking, coughing up pink frothy fluid
- Action: Descend immediately if symptoms persist or worsen
What Physical Preparation is Needed for a DIY Mount Rainier Climb?
Preparing your body for the challenges of Mount Rainier is crucial. Here’s a training plan:
- Cardiovascular Endurance
- Activities: Hiking, running, cycling
- Frequency: 3-4 times per week
-
Duration: Build up to 2-3 hour sessions
-
Strength Training
- Focus Areas: Legs, core, and upper body
- Exercises: Squats, lunges, planks, pull-ups
-
Frequency: 2-3 times per week
-
Altitude Training
- If possible, train at higher elevations
-
Use a hypoxic training mask to simulate altitude
-
Practice Hikes
- Carry a weighted pack (30-40 lbs)
-
Gradually increase distance and elevation gain
-
Technical Skills
- Practice with crampons and ice axe
- Learn self-arrest techniques
- Familiarize yourself with rope team travel
What Weather Conditions Should You Expect on a DIY Mount Rainier Climb?
Mount Rainier’s weather can be unpredictable and extreme. Here’s what to prepare for:
- Temperature Range
- Summer: 20°F to 60°F (-6°C to 15°C)
-
Winter: -40°F to 35°F (-40°C to 2°C)
-
Wind Speeds
- Average: 5-15 mph
-
Gusts can exceed 100 mph at higher elevations
-
Precipitation
- Annual Snowfall: 600-900 inches
-
Rain is common at lower elevations
-
Visibility
- Can change rapidly due to clouds and storms
-
Whiteout conditions are possible
-
UV Exposure
- Intense at high altitudes
- Sunscreen and eye protection are essential
How to Navigate and Communicate During a DIY Mount Rainier Climb?
Proper navigation and communication are vital for safety. Consider these tools and techniques:
- Navigation Tools
- Topographic map and compass (know how to use them)
- GPS device with extra batteries
-
Altimeter watch
-
Route Finding
- Study the route beforehand
- Look for wands or other markers
-
Be aware of changing glacier conditions
-
Communication Devices
- Two-way radios for team communication
-
Satellite phone or personal locator beacon for emergencies
-
Weather Updates
- Check forecasts regularly
-
Be prepared to adjust plans based on conditions
-
Emergency Procedures
- Know how to signal for help
- Familiarize yourself with ranger stations and emergency routes
By thoroughly preparing for your DIY climb of Mount Rainier, you’ll increase your chances of a successful and safe summit. Remember to respect the mountain, make conservative decisions, and always prioritize safety over reaching the summit. With proper planning, training, and equipment, you’ll be well-equipped to tackle this iconic peak and create memories that will last a lifetime.
