Mount Rainier National Park offers breathtaking hiking experiences, including several iconic bridges that provide access to stunning landscapes and ancient forests. This guide focuses on hiking Mount Rainier bridges, covering the Carbon River Suspension Bridge, Grove of the Patriarchs Suspension Bridge, and Skyline Trail Bridges. These bridges offer unique perspectives of the park’s diverse ecosystems, from old-growth forests to glacial valleys, and provide crucial connections for hikers exploring Mount Rainier’s extensive trail network.
What Are the Main Bridges for Hiking in Mount Rainier?

Mount Rainier National Park features several notable bridges that hikers can experience:
- Carbon River Suspension Bridge
- Grove of the Patriarchs Suspension Bridge
- Skyline Trail Bridges (Paradise)
Let’s explore each of these bridges in detail.
Carbon River Suspension Bridge
The Carbon River Suspension Bridge is part of the Wonderland Trail to Carbon Glacier. Here are the key details:
- Trail Length: 18.4 miles roundtrip
- Elevation Gain: 1,800 feet
- Estimated Hiking Time: 8-10 hours
This challenging hike takes you through the Carbon River Valley and old-growth forest. The suspension bridge itself spans the Carbon River, offering a thrilling crossing experience. Along the way, hikers will encounter several small creeks and seasonal log bridges.
Grove of the Patriarchs Suspension Bridge
The Grove of the Patriarchs trail features a suspension bridge that leads to an island of ancient trees. Key information includes:
- Trail Length: 1.5 miles roundtrip
- Elevation Gain: 0 feet
- Estimated Hiking Time: Approximately 1 hour
This family-friendly hike is relatively easy, making it accessible to a wide range of visitors. The suspension bridge crosses the Ohanapecosh River and is a highlight of the trail. Note that the trail is not stroller-friendly due to tree roots and the bridge’s design.
Skyline Trail Bridges (Paradise)
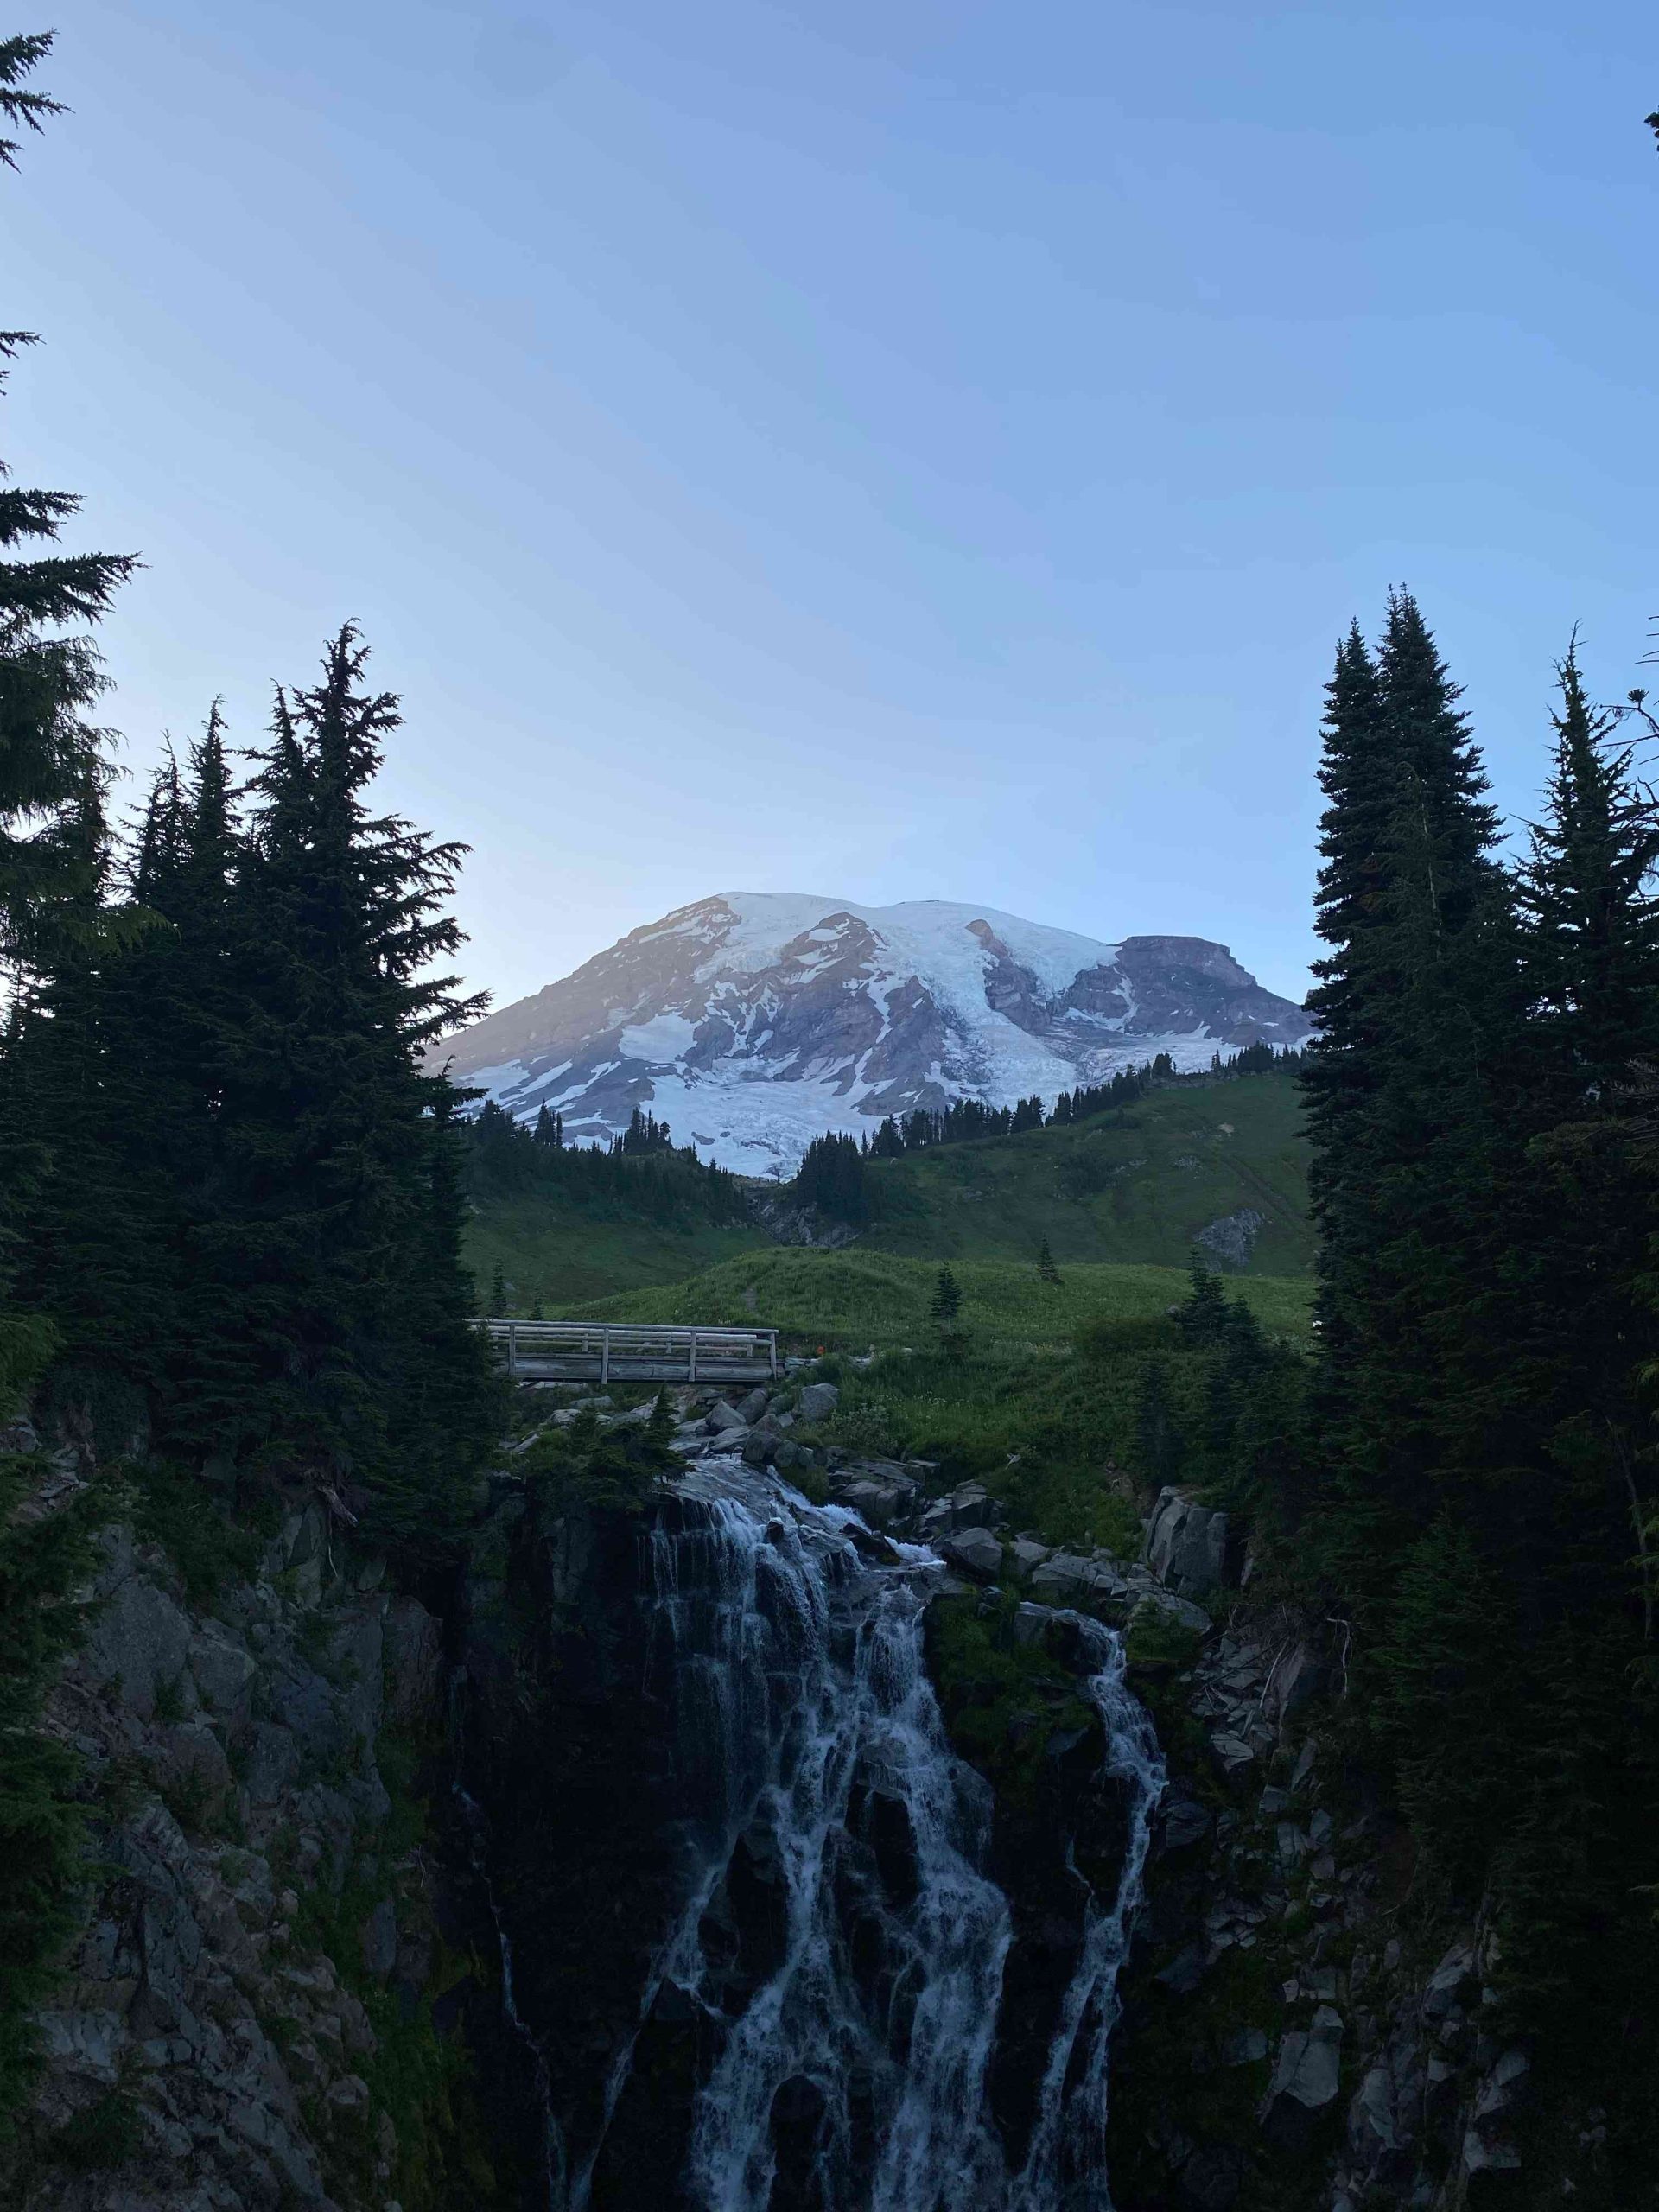
The Skyline Trail Loop includes several smaller bridges, most notably the one over Edith Creek Basin. Here’s what you need to know:
- Trail Length: 5.5 miles roundtrip
- Elevation Gain: 1,450 feet
- Estimated Hiking Time: 3-4 hours
This moderate hike offers spectacular views of waterfalls, glaciers, and subalpine meadows. The bridges along this trail, while not as prominent as the suspension bridges, provide crucial access points over creeks and ravines.
Where Are These Mount Rainier Bridges Located?

Understanding the location of these bridges is crucial for planning your hike. Here’s a breakdown of their locations:
| Bridge | GPS Coordinates | Nearest Parking |
|---|---|---|
| Carbon River Suspension Bridge | 46.9683, -121.8833 | Carbon River trailhead |
| Grove of the Patriarchs Suspension Bridge | 46.7344, -121.5694 | Trailhead parking on Stevens Canyon Road |
| Skyline Trail Bridges | 46.7867, -121.7353 | Paradise parking lot |
What Safety Tips Should Hikers Follow When Crossing Mount Rainier Bridges?
Safety is paramount when hiking Mount Rainier bridges. Here are essential tips to keep in mind:
- Check weather forecasts: Bridges can be slippery and dangerous in wet conditions.
- Be prepared for changing weather: Conditions can shift rapidly, especially at higher elevations.
- Stay alert for wildlife: Keep an eye out for bears, mountain goats, and other animals near the bridges.
- Make noise while hiking: This helps avoid surprising animals on the trail.
- Wear appropriate footwear: Sturdy hiking boots with good traction are essential.
- Use trekking poles: These can provide extra stability, especially on longer or more challenging hikes.
- Carry the Ten Essentials: This includes a map, compass, first aid kit, and emergency shelter.
How Can Hikers Access Mount Rainier Bridges?
Access to Mount Rainier bridges varies depending on their location. Here’s a breakdown of access points for each bridge:
Carbon River Suspension Bridge
- Trailhead: Carbon River trailhead
- Access: Requires a 5-mile walk or bike ride from the road end
- Transportation: Personal vehicle or bike required
- Permits: National Park Pass required
Grove of the Patriarchs Suspension Bridge
- Trailhead: Stevens Canyon Road, past the Ohanapecosh River bridge
- Access: Parking available at the trailhead
- Transportation: Personal vehicle
- Permits: National Park Pass required
Skyline Trail Bridges (Paradise)
- Trailhead: Paradise parking lot near Henry M. Jackson Visitors Center
- Access: Parking available at Paradise
- Transportation: Personal vehicle; limited public transportation options
- Permits: National Park Pass required
What Should Hikers Expect When Crossing Mount Rainier Bridges?
When hiking Mount Rainier bridges, hikers should be prepared for unique experiences:
-
Carbon River Suspension Bridge: Expect a long, challenging hike before reaching the bridge. The suspension bridge itself offers a thrilling crossing over the Carbon River.
-
Grove of the Patriarchs Suspension Bridge: This bridge requires single-file crossing and can sway slightly. It leads to an island with ancient, massive trees.
-
Skyline Trail Bridges: These smaller bridges provide crucial crossings over creeks and ravines, offering picturesque views of the surrounding landscape.
Remember to respect trail etiquette, follow park rules, and practice Leave No Trace principles when hiking Mount Rainier bridges.
How Can Hikers Prepare for Bridge Hikes in Mount Rainier?
Proper preparation is key for a safe and enjoyable experience when hiking Mount Rainier bridges:
- Physical Preparation:
- Train for the specific hike you plan to undertake
- Build endurance through regular cardio exercises
-
Practice hiking with a loaded backpack
-
Gear Checklist:
- Sturdy hiking boots
- Trekking poles
- Weather-appropriate clothing (layers)
-
The Ten Essentials (map, compass, sunscreen, extra food, extra water, extra clothes, headlamp, first-aid kit, fire starter, and emergency shelter)
-
Mental Preparation:
- Research the trail and bridge crossings beforehand
- Understand your physical limits and those of your hiking partners
- Be prepared to turn back if conditions are unfavorable
By following these guidelines and respecting the natural environment, hikers can safely enjoy the unique experiences offered by Mount Rainier’s bridges and trails.
References:
1. https://www.wta.org/go-hiking/hikes/carbon-glacier
2. https://visitrainier.com/grove-of-the-patriarchs-2/
3. https://www.wta.org/go-hiking/hikes/skyline-trail-loop
