Mount Rainier crevasse crossing is a critical skill for climbers attempting to summit this iconic peak. Navigating the complex network of crevasses on Mount Rainier’s glaciers requires careful planning, proper equipment, and advanced mountaineering techniques. This guide covers essential information on routes, safety gear, rescue techniques, and best practices for successfully crossing crevasses on Mount Rainier.
What Are the Specific Crevasse Crossing Routes on Mount Rainier?

The Disappointment Cleaver (DC) route is one of the most popular paths to the summit of Mount Rainier, featuring several challenging crevasse crossings. Here’s a breakdown of key points along this route:
- Camp Muir (10,060 feet): Starting point for many climbers
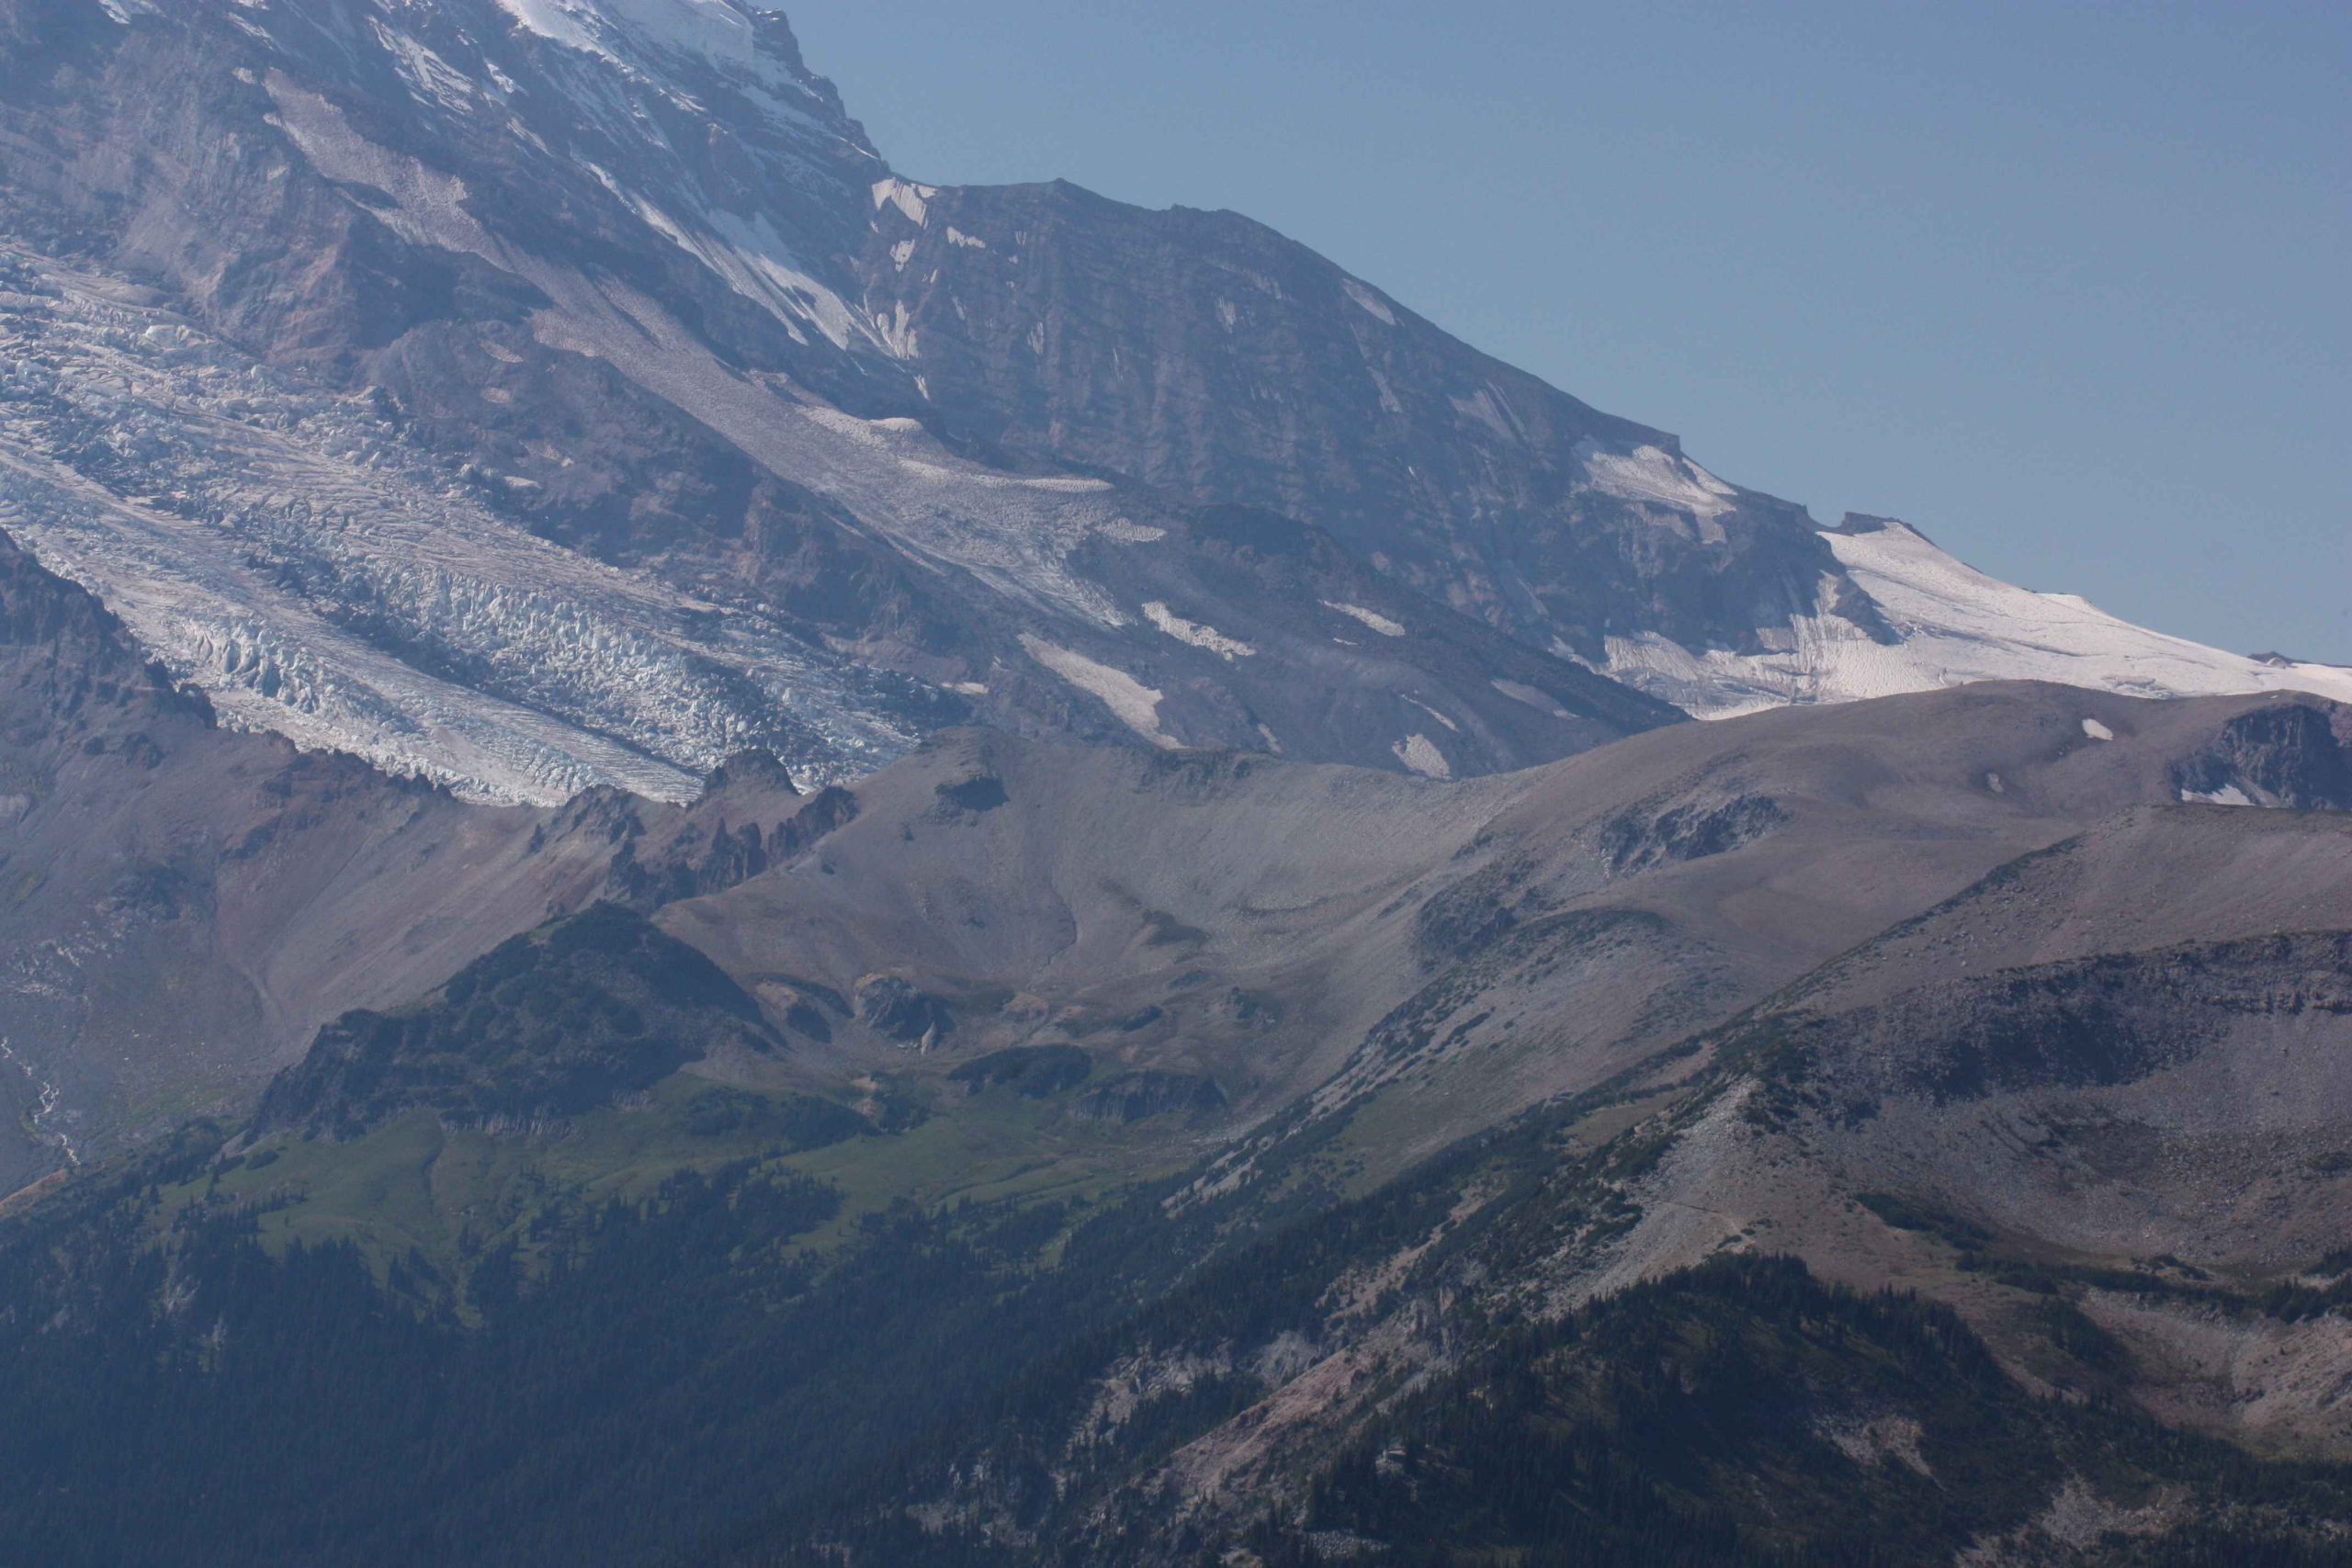
- Ingraham Glacier: Contains numerous crevasses
- 13,100 feet: Location of a significant crevasse system with a ladder
- Summit: N 46:51.211, W 121:45.558, elevation 14,411 feet
Notable Landmarks and Hazards
- Ingraham Glacier: Multiple crevasses marked by guide wands
- Upper glaciers: ‘X’ markers indicate closed trails due to unsafe conditions
- Changing route conditions: Snow bridges and crevasse openings shift throughout the season
Navigation Tips
- Follow marked trails and guide wands carefully
- Use GPS devices and maps, especially in low visibility
- Download GPS tracks from reliable sources like Alpine Savvy or Caltopo
What Is the Essential Safety Gear for Crevasse Crossing?

Proper equipment is crucial for safe crevasse crossing on Mount Rainier. Here’s a list of essential gear:
- Harness: Climbing harness with leg loops and waist belt (e.g., Black Diamond Momentum Harness)
- Rope: Minimum 10.5 mm diameter, 60 meters length
- Anchors: Ice screws, V-threads, and pickets
- Crampons and ice axes
- Crevasse rescue equipment: Pulleys, carabiners, prusik cords
- Helmet
- Avalanche transceiver (conditions dependent)
Recommended Brands
- Harnesses: Black Diamond, Petzl, Arc’teryx
- Ropes: Mammut, Edelrid, Sterling Rope
- Anchors: Black Diamond, Grivel, Camp USA
How Are Crevasse Rescue Techniques Performed?
Knowing crevasse rescue techniques is essential for any climber attempting Mount Rainier. Here’s a step-by-step guide:
- Assess the situation
- Set up a secure anchor system
- Attach the rope to the anchor and fallen climber
- Create a pulley system (Z-pulley or 3:1 system)
- Lift the climber out of the crevasse
Required Equipment for Crevasse Rescue
- Climbing ropes
- Anchors (ice screws, V-threads, pickets)
- Pulleys
- Carabiners
- Prusik cords
- Harnesses
Note: The time required for a rescue can vary from 30 minutes to several hours, depending on the complexity of the situation.
What Are the Best Practices for Crevasse Navigation?
Successful crevasse navigation on Mount Rainier requires a combination of skills and awareness. Here are some best practices:
Reading Snow Conditions
- Look for signs of recent crevasse activity
- Use probe poles to test for hidden crevasses
- Be aware of changing snow conditions throughout the season
Identifying Potential Hazards
- Follow marked trails and guide wands carefully
- Pay attention to ‘X’ markers indicating closed trails
- Be cautious of sagging snow bridges
Using Navigation Tools
- Utilize GPS devices and maps, especially in low visibility conditions
- Download and follow reliable GPS tracks
- Regularly update your route information based on current conditions
How Does Weather Affect Crevasse Crossing on Mount Rainier?
Weather plays a crucial role in the safety and success of crevasse crossings on Mount Rainier. Here’s how different weather conditions can impact your climb:
Temperature
- Warmer temperatures can weaken snow bridges
- Colder temperatures may create more stable conditions but increase the risk of frostbite
Visibility
- Low visibility (fog, clouds) makes navigation more challenging
- Clear conditions allow for better route assessment and hazard identification
Precipitation
- Fresh snow can hide crevasses, making them more dangerous
- Rain can weaken snow bridges and increase the risk of avalanches
Wind
- High winds can create dangerous wind-slab conditions
- Wind-blown snow can fill in tracks, making navigation more difficult
What Training Is Required for Mount Rainier Crevasse Crossing?
Proper training is essential for safe crevasse crossing on Mount Rainier. Here are key areas of training to focus on:
- Glacier travel techniques
- Crevasse rescue skills
- Navigation and route-finding
- Snow and ice climbing
- Weather assessment
- First aid and wilderness survival
Recommended Courses and Certifications
- Mountaineering courses from organizations like NOLS or AMGA
- Wilderness First Responder certification
- Avalanche safety courses (Level 1 and 2)
How Has Climate Change Affected Crevasse Crossing on Mount Rainier?
Climate change has had significant impacts on Mount Rainier’s glaciers and crevasse conditions:
- Increased glacial retreat
- More frequent and larger crevasses
- Less predictable snow bridge stability
- Changes in traditional climbing routes
Adapting to Changing Conditions
- Stay informed about current route conditions
- Be prepared for more challenging crevasse crossings
- Consider climbing earlier in the season when conditions may be more stable
By understanding these key aspects of Mount Rainier crevasse crossing, climbers can better prepare for the challenges they’ll face on this iconic peak. Remember, proper training, equipment, and decision-making are crucial for a safe and successful ascent.
References:
