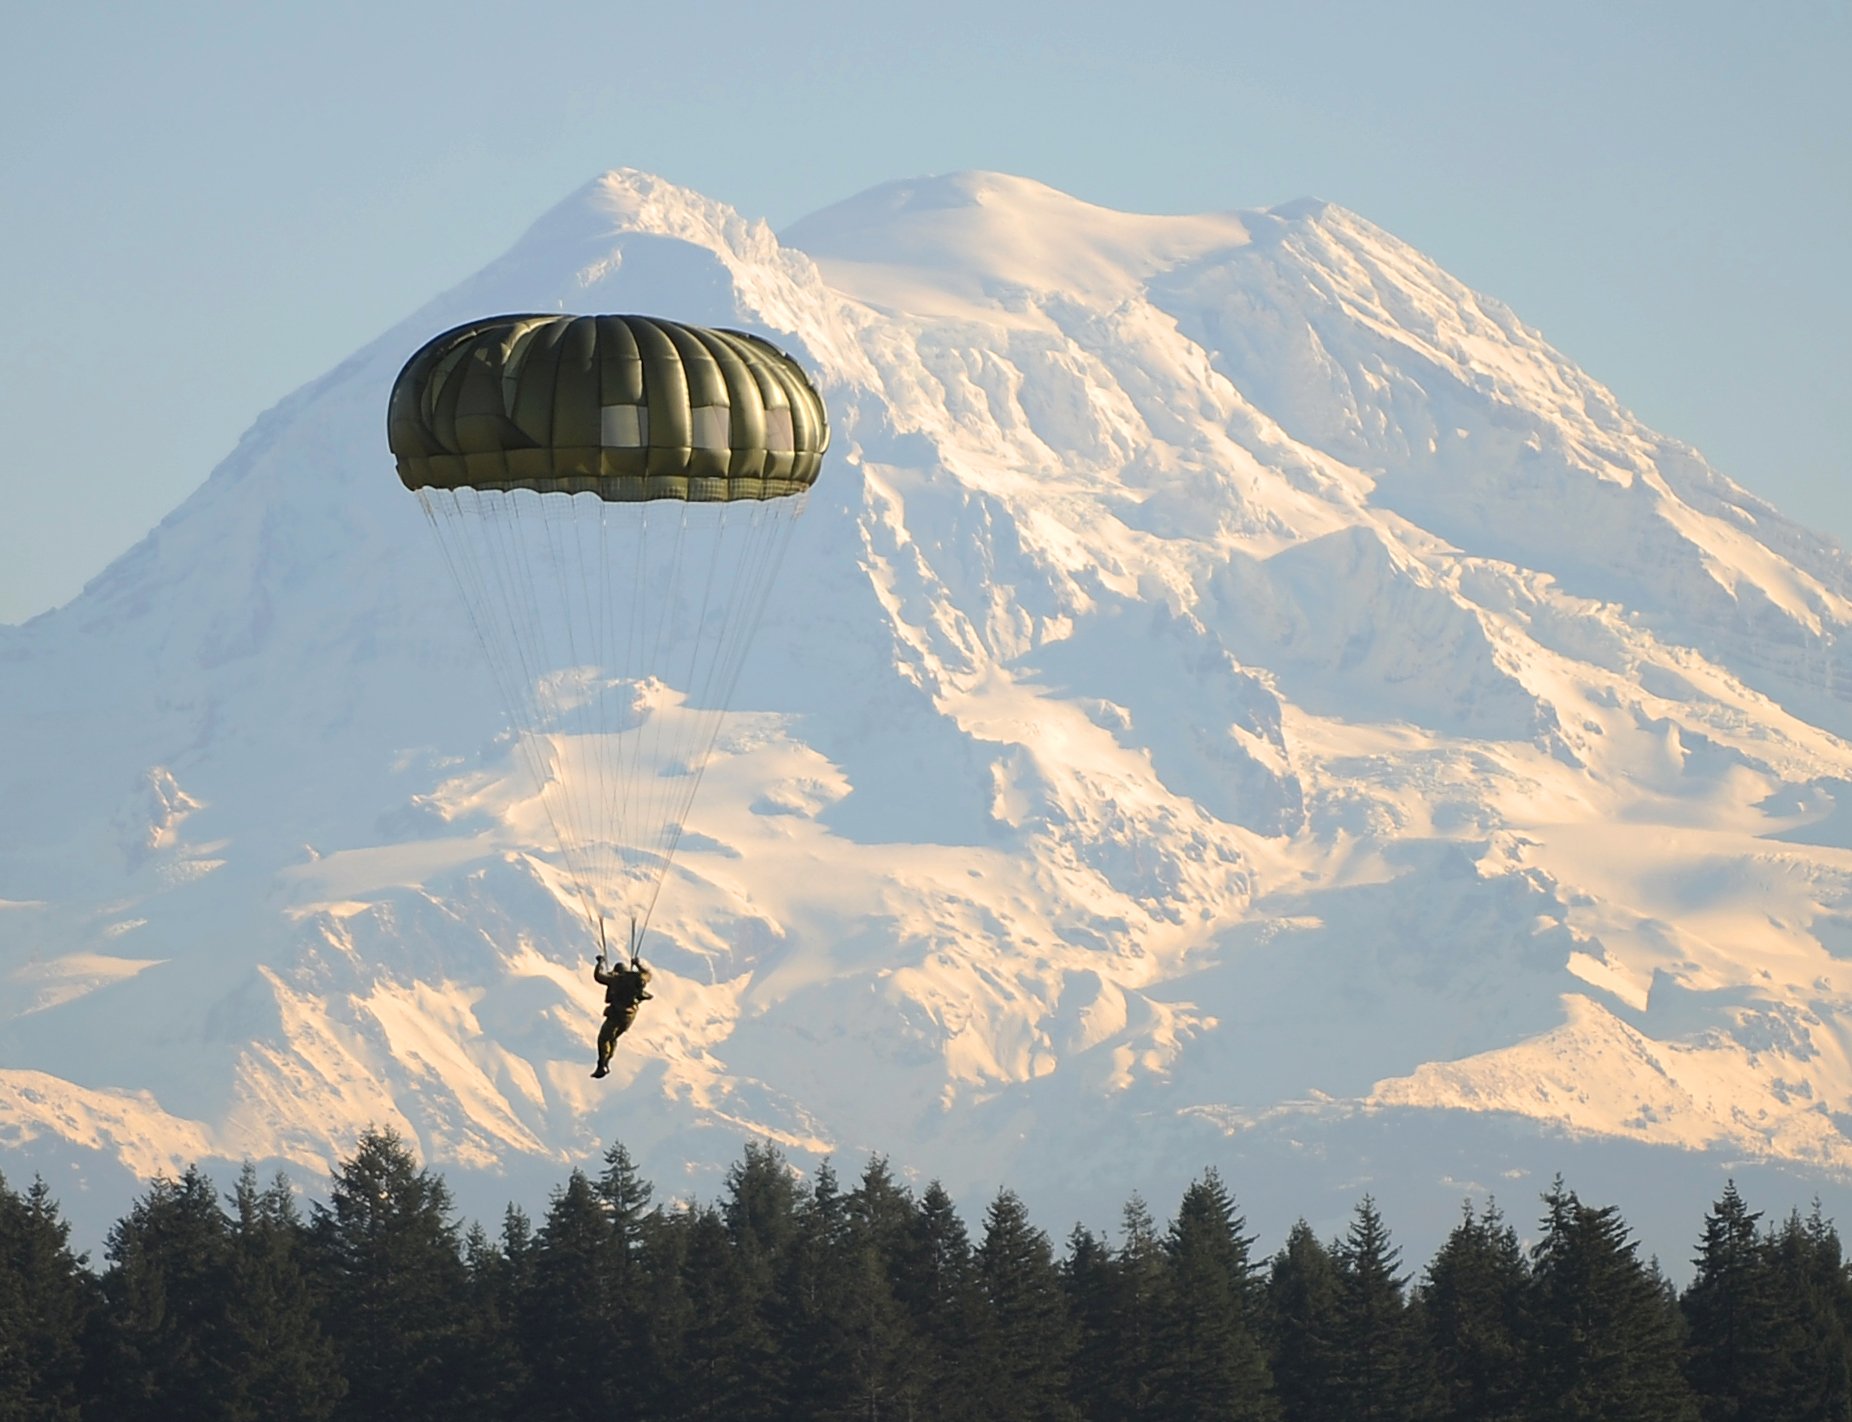
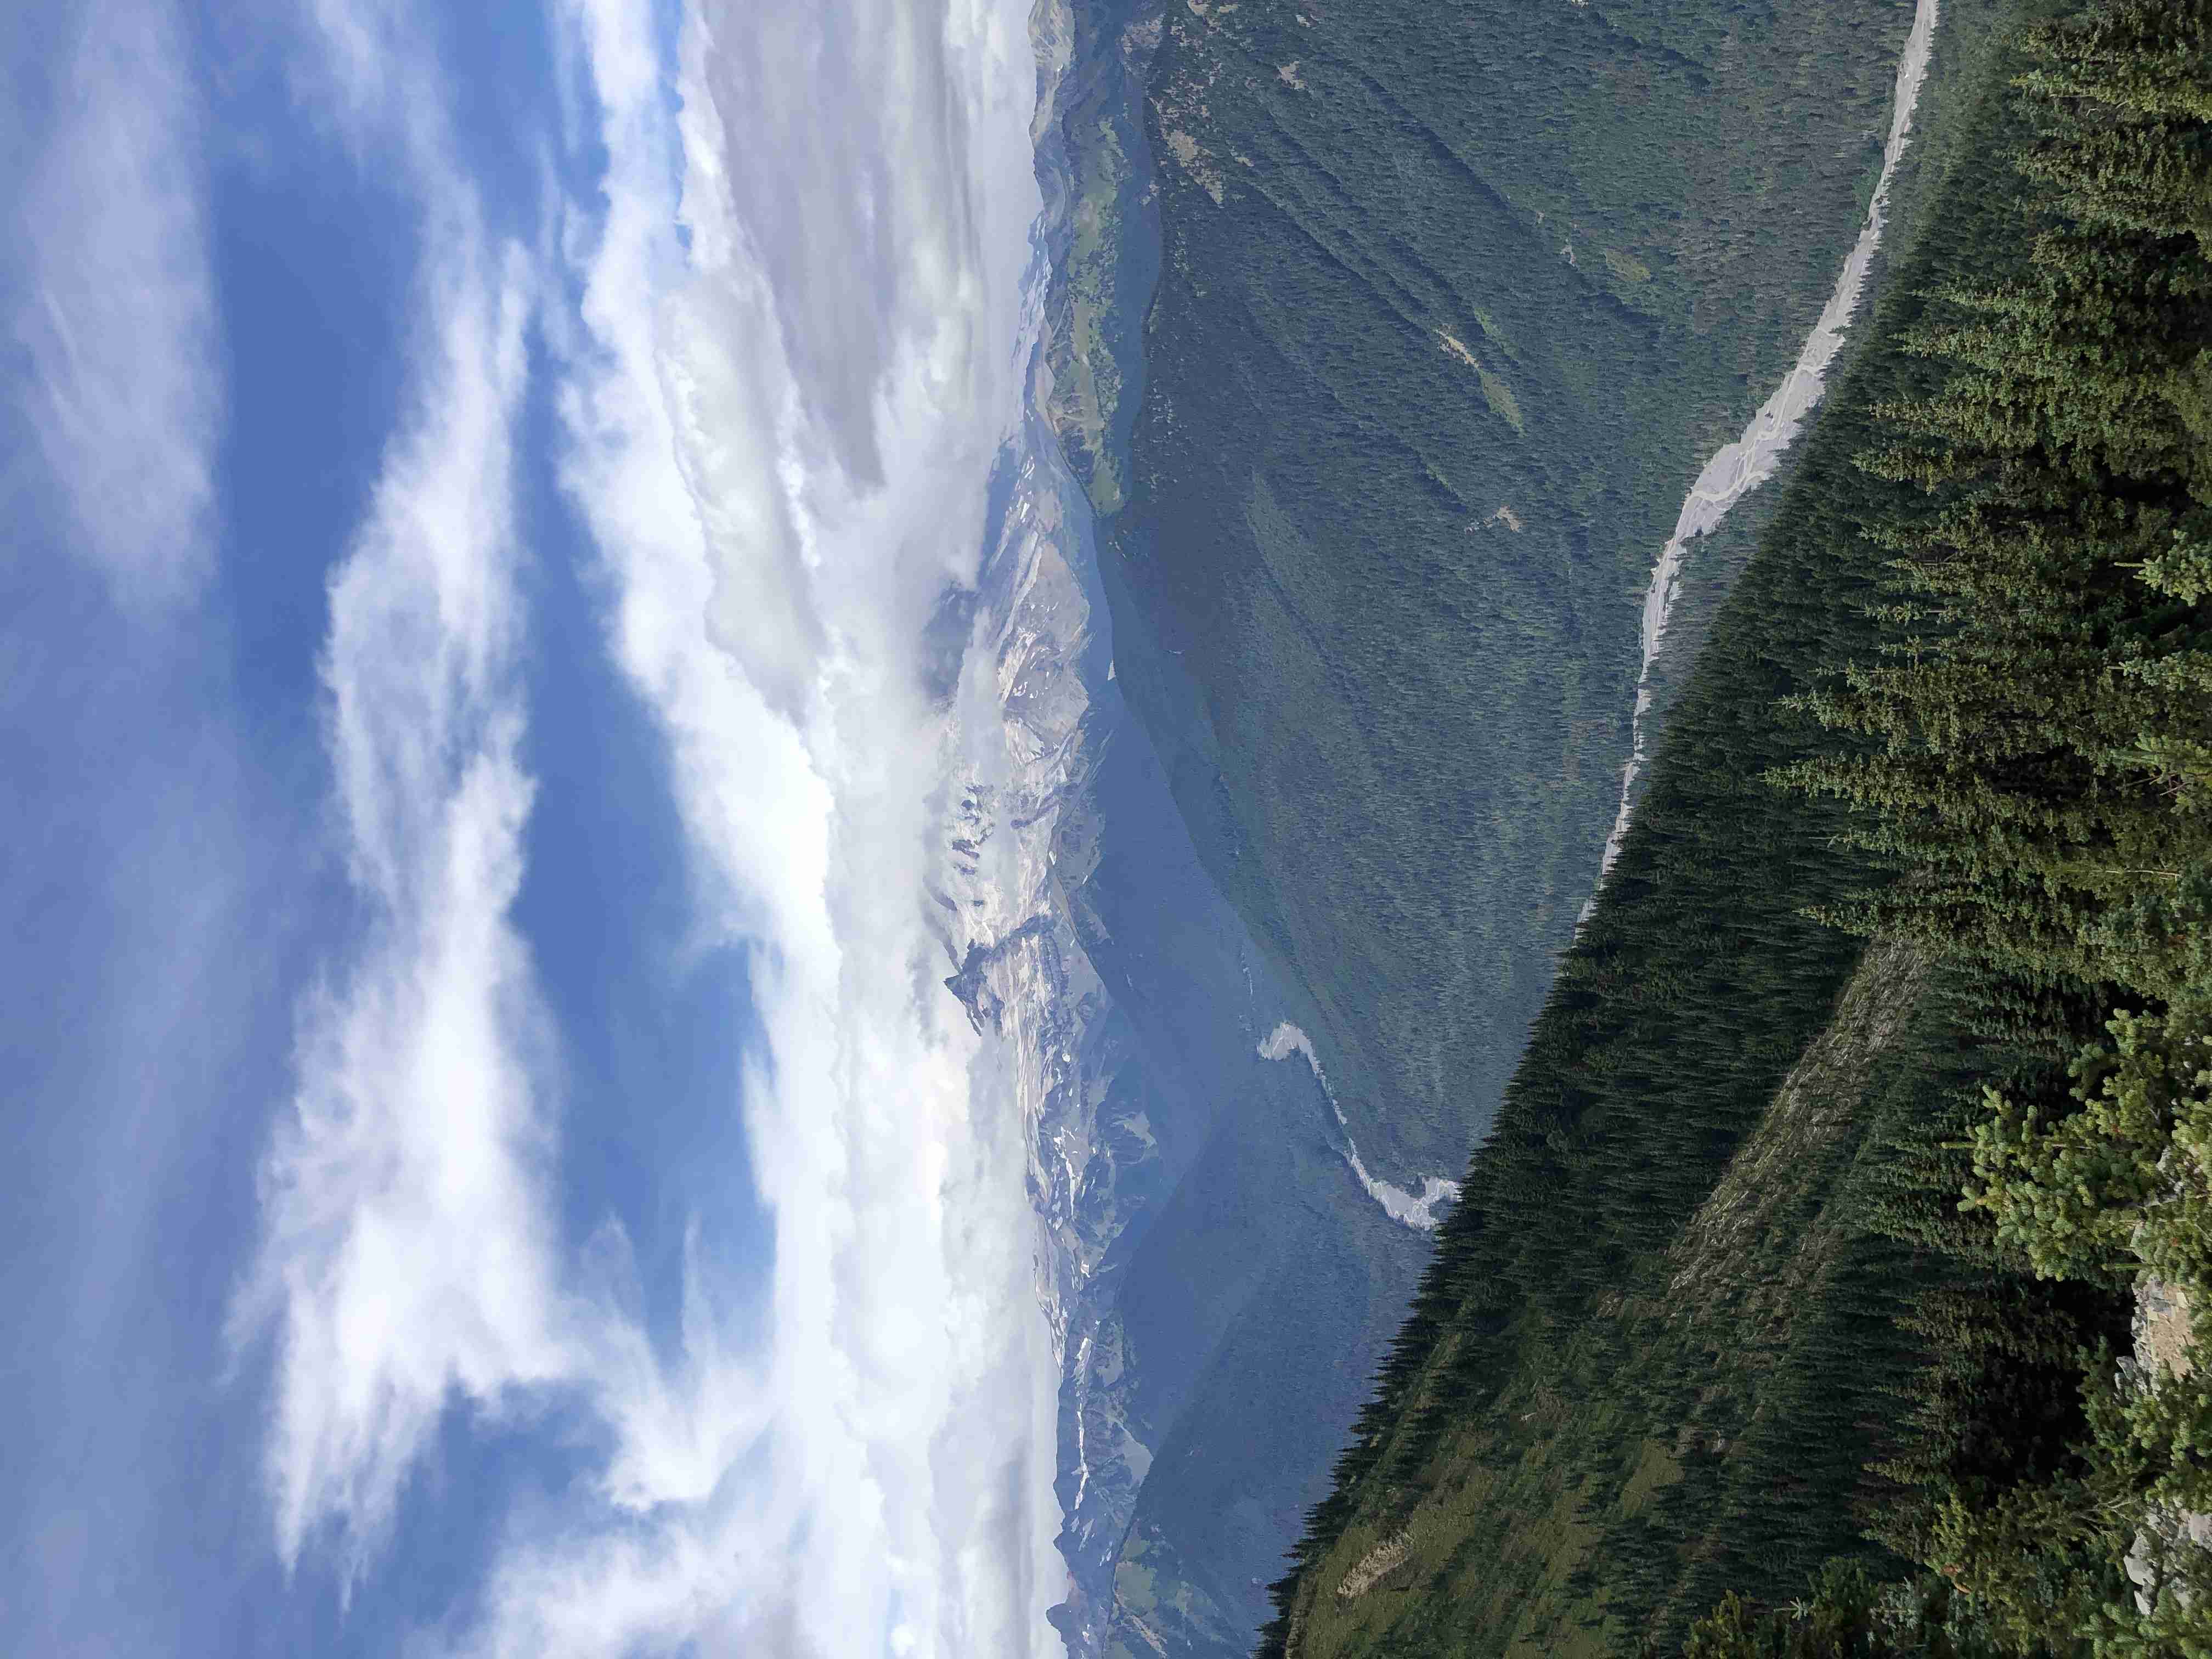
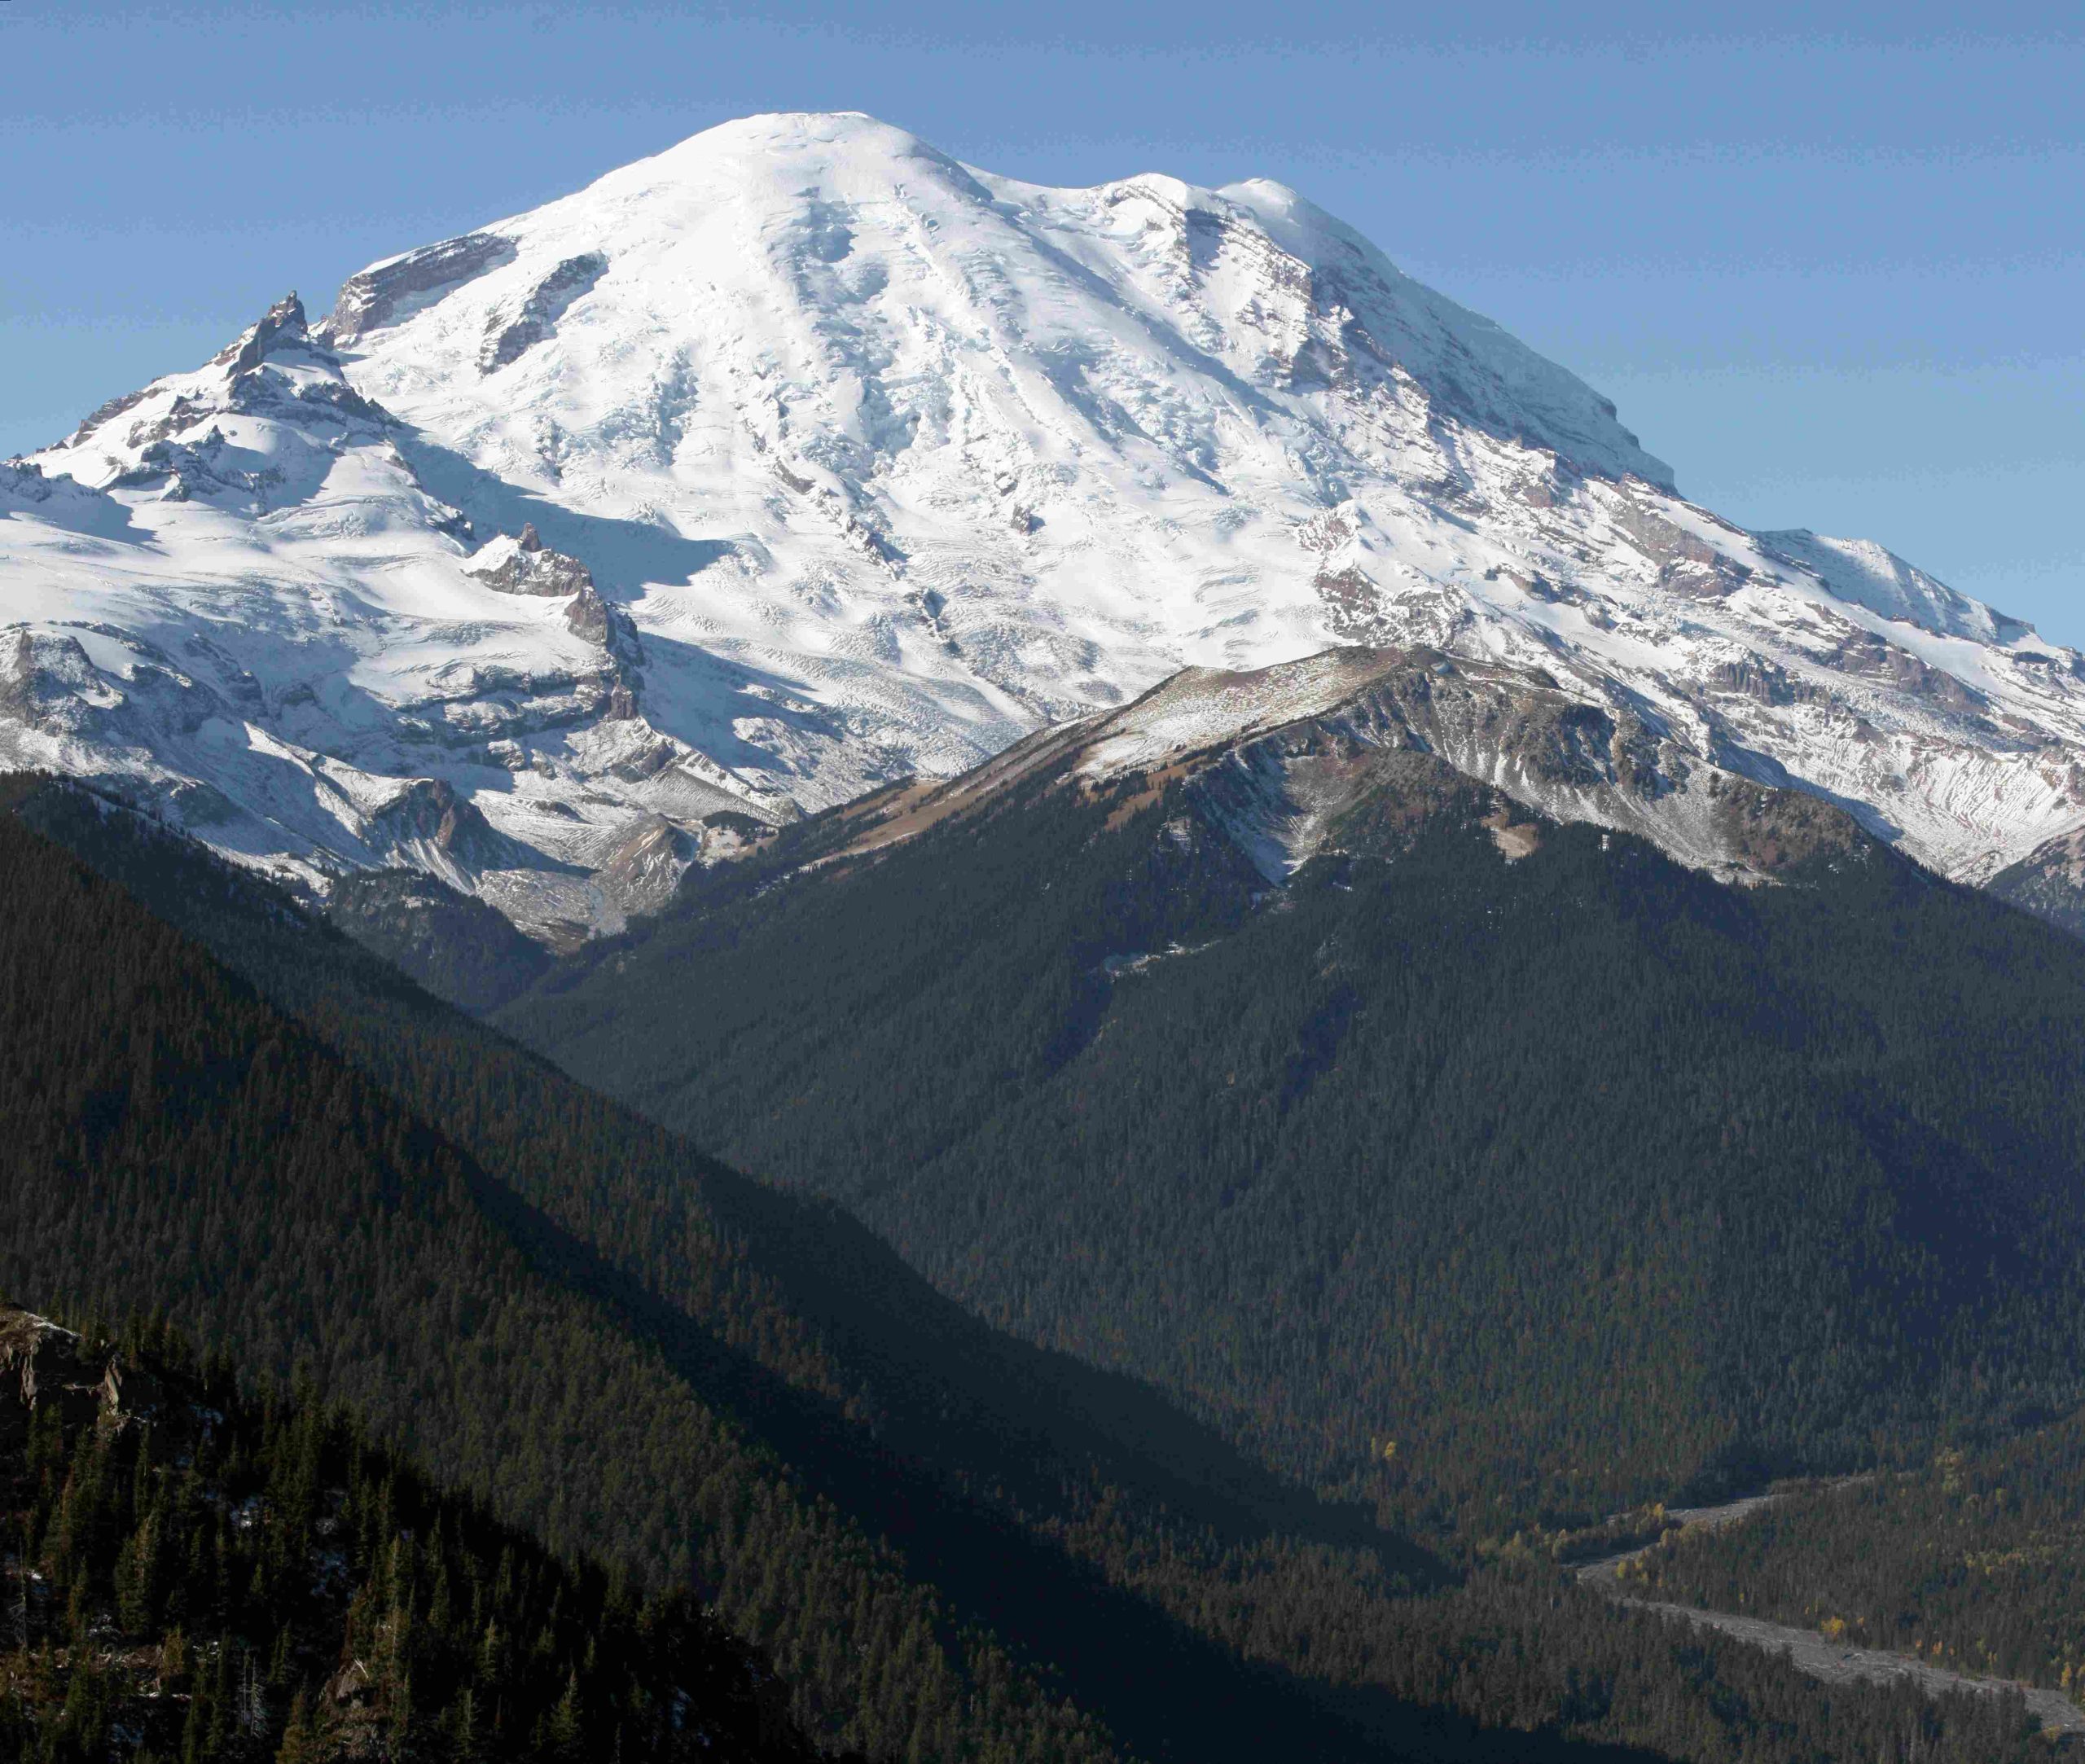
A Mount Rainier field trip offers an unparalleled opportunity to explore one of America’s most iconic national parks. This guide provides a detailed itinerary, essential safety tips, and packing recommendations for a two-day adventure. From hiking the Skyline Trail to witnessing the breathtaking Reflection Lakes, this field trip combines education, adventure, and natural beauty, making it an ideal excursion for nature enthusiasts, students, and families alike.
What Should I Expect on a Mount Rainier Field Trip?

A Mount Rainier field trip typically includes:
- Scenic hikes through subalpine meadows
- Visits to visitor centers for educational programs
- Wildlife viewing opportunities
- Exploration of diverse ecosystems
- Stunning views of glaciers and volcanic landscapes
How Can I Plan a Two-Day Itinerary for Mount Rainier?

Day 1: Paradise and Surroundings
- 7:00 AM – 8:00 AM: Breakfast in Ashford or Packwood
- 8:00 AM – 9:00 AM: Drive to Paradise Visitor Center
- 9:00 AM – 10:00 AM: Explore Henry M. Jackson Memorial Visitor Center
- 10:00 AM – 1:00 PM: Hike the Skyline Trail
- 1:00 PM – 2:00 PM: Lunch break
- 2:00 PM – 4:00 PM: Visit Myrtle Falls and explore wildflower meadows
- 4:00 PM – 5:00 PM: Reflection Lakes visit
Day 2: Sunrise and Ohanapecosh
- 7:00 AM – 8:00 AM: Breakfast in Greenwater or Packwood
- 8:00 AM – 10:30 AM: Drive to Sunrise Visitor Center
- 10:30 AM – 12:00 PM: Explore Sunrise area and Tipsoo Lake
- 12:00 PM – 1:00 PM: Lunch break
- 1:00 PM – 3:30 PM: Hike Naches Peak Loop
- 4:00 PM – 6:00 PM: Visit Ohanapecosh and Grove of the Patriarchs
What Activities Are Available During a Mount Rainier Field Trip?
- Ranger-led programs
- Wildflower walks (June to August)
- Nature talks at visitor centers
- Wildlife viewing
- Elk sightings near Longmire and Ohanapecosh
- Bird watching at Paradise and Sunrise
- Scenic drives
- Sunrise to Stevens Canyon route
What Are the Essential Safety Tips for a Mount Rainier Field Trip?
Altitude Sickness Prevention
- Ascend gradually
- Stay hydrated
- Rest if symptoms occur (headache, nausea, fatigue)
Weather Preparedness
- Average August temperatures: 50°F to 70°F
- Bring layers and waterproof gear
Trail Safety
- Stay on marked paths
- Check trail conditions before hiking
- Carry necessary gear (water, snacks, first aid kit)
What Should I Pack for a Mount Rainier Field Trip?
Clothing
| Item | Quantity | Notes |
|---|---|---|
| Base layer | 2 | Moisture-wicking material |
| Insulating layer | 1 | Fleece or wool |
| Waterproof jacket | 1 | Breathable material |
| Hiking boots | 1 pair | Sturdy and broken-in |
| Hat and gloves | 1 each | For cooler temperatures |
| Extra socks | 2 pairs | In case of wet conditions |
Hydration and Nutrition
- 2 liters of water per person
- High-energy snacks (3 bars per person)
- Trail mix and dried fruits
- Packed lunch or picnic supplies
First Aid Kit
- Blister treatment (moleskin, blister pads)
- Bandages and gauze
- Pain relievers
- Antiseptic wipes
Miscellaneous
- Map and compass (or GPS device)
- Sunscreen and insect repellent
- Camera
- Emergency shelter (lightweight blanket)
How Can I Make the Most of My Mount Rainier Field Trip?
- Start early to avoid crowds and maximize daylight
- Participate in ranger-led programs for in-depth learning
- Take frequent breaks to appreciate the scenery and wildlife
- Stay flexible with your itinerary due to weather changes
- Practice Leave No Trace principles to preserve the park
By following this comprehensive guide, you’ll be well-prepared for an unforgettable Mount Rainier field trip. Remember to check the official park website for the most up-to-date information on trail conditions and park regulations before your visit.
References:
1. Plan Your Visit – Mount Rainier National Park
2. Mount Rainier National Park Itinerary (From Locals)
3. Mount Rainier Itinerary: Ultimate Guide for Packwood and Paradise
4. Things to Do – Mount Rainier National Park
5. Best Time to Visit Mount Rainier National Park

