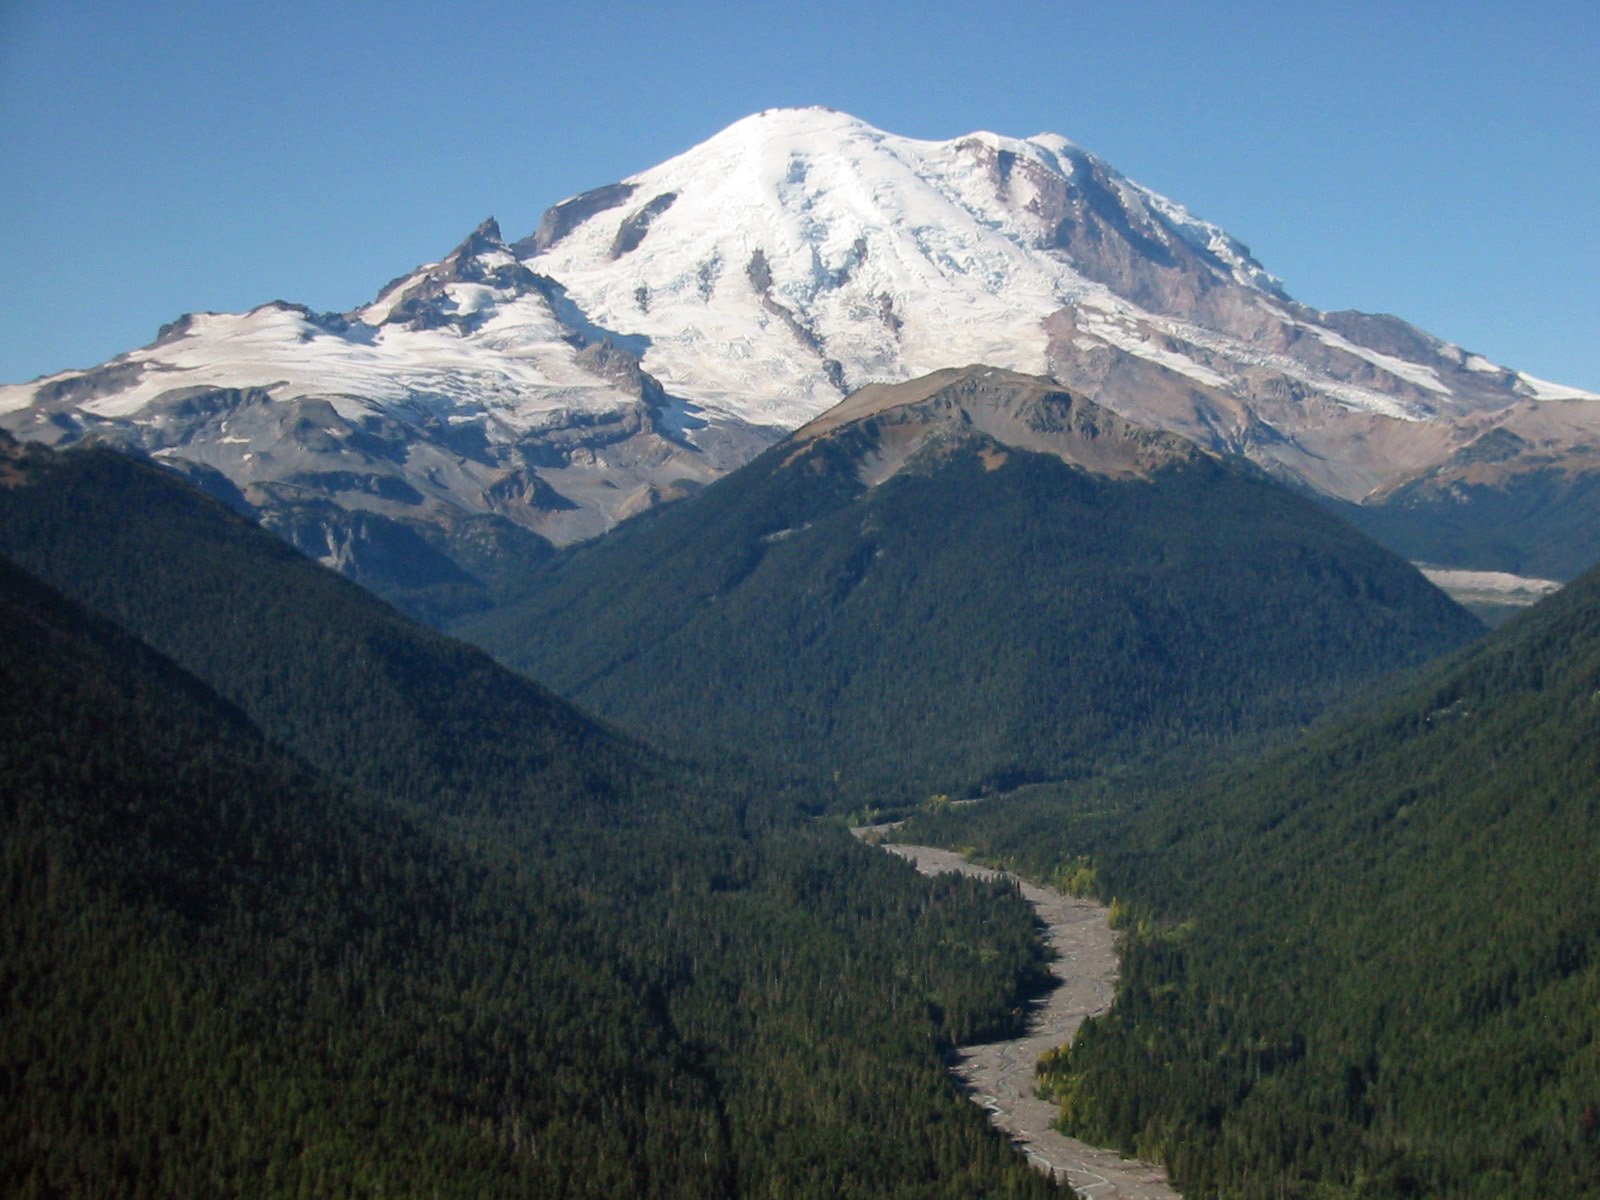
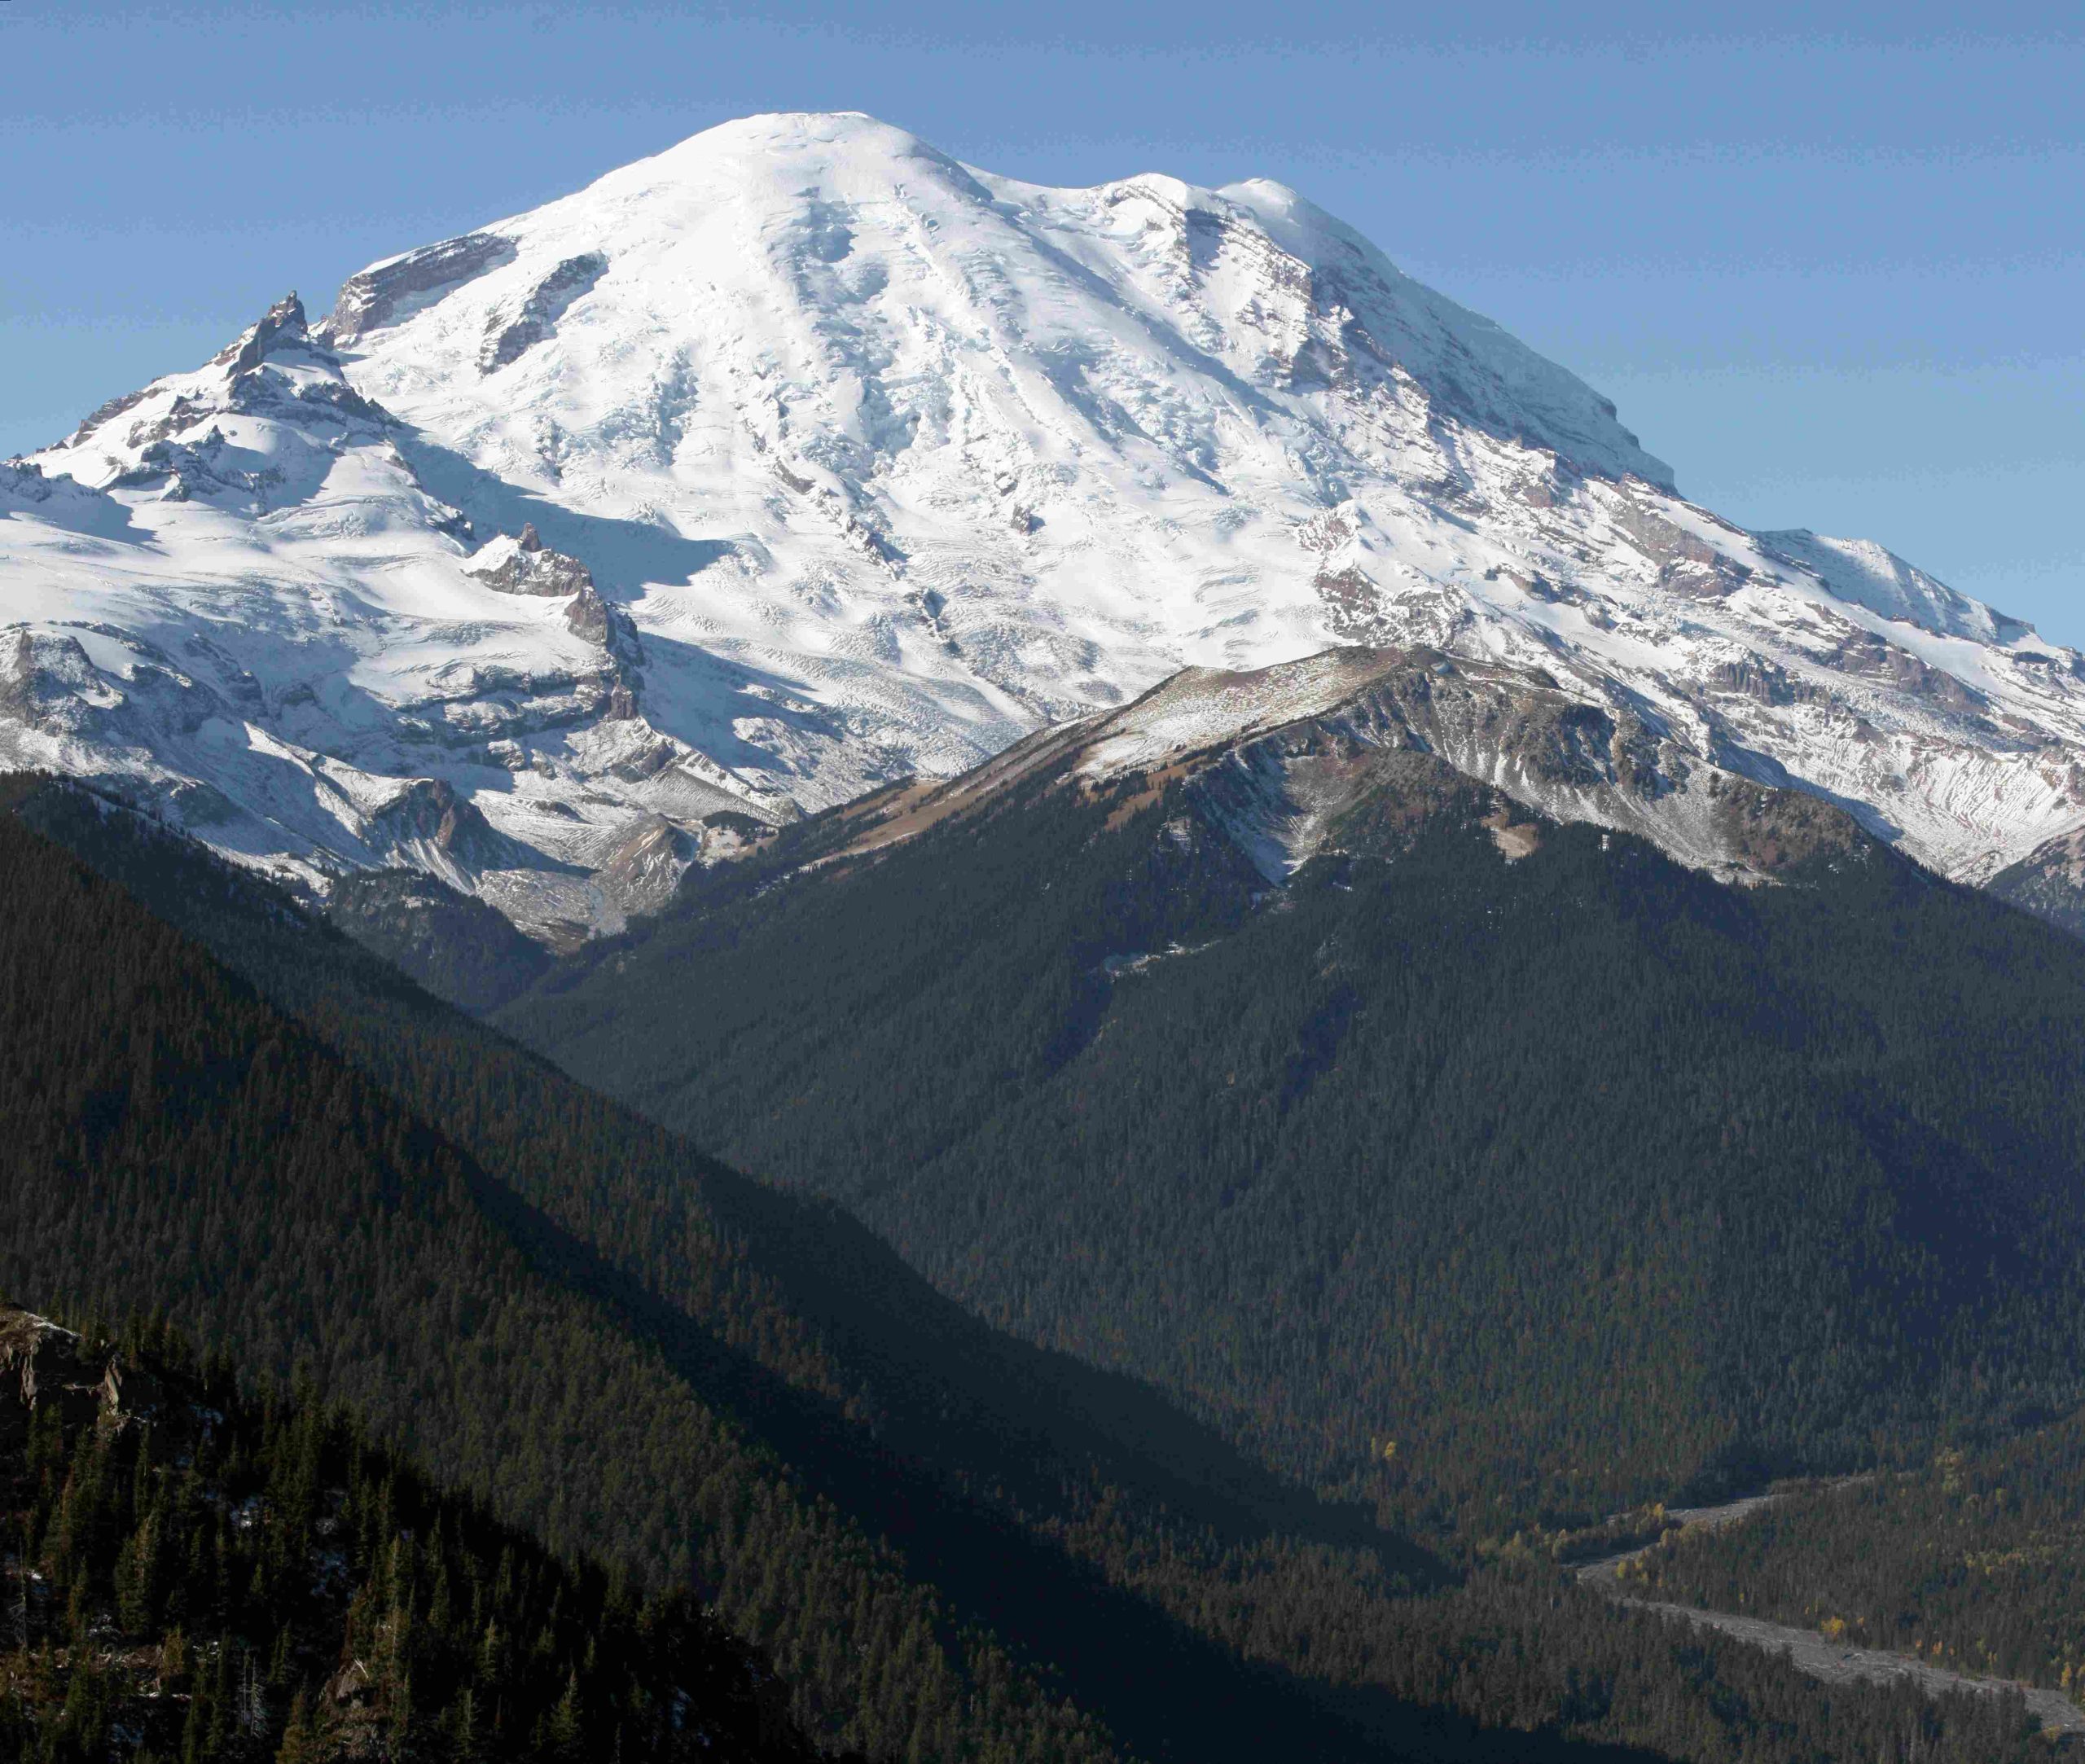
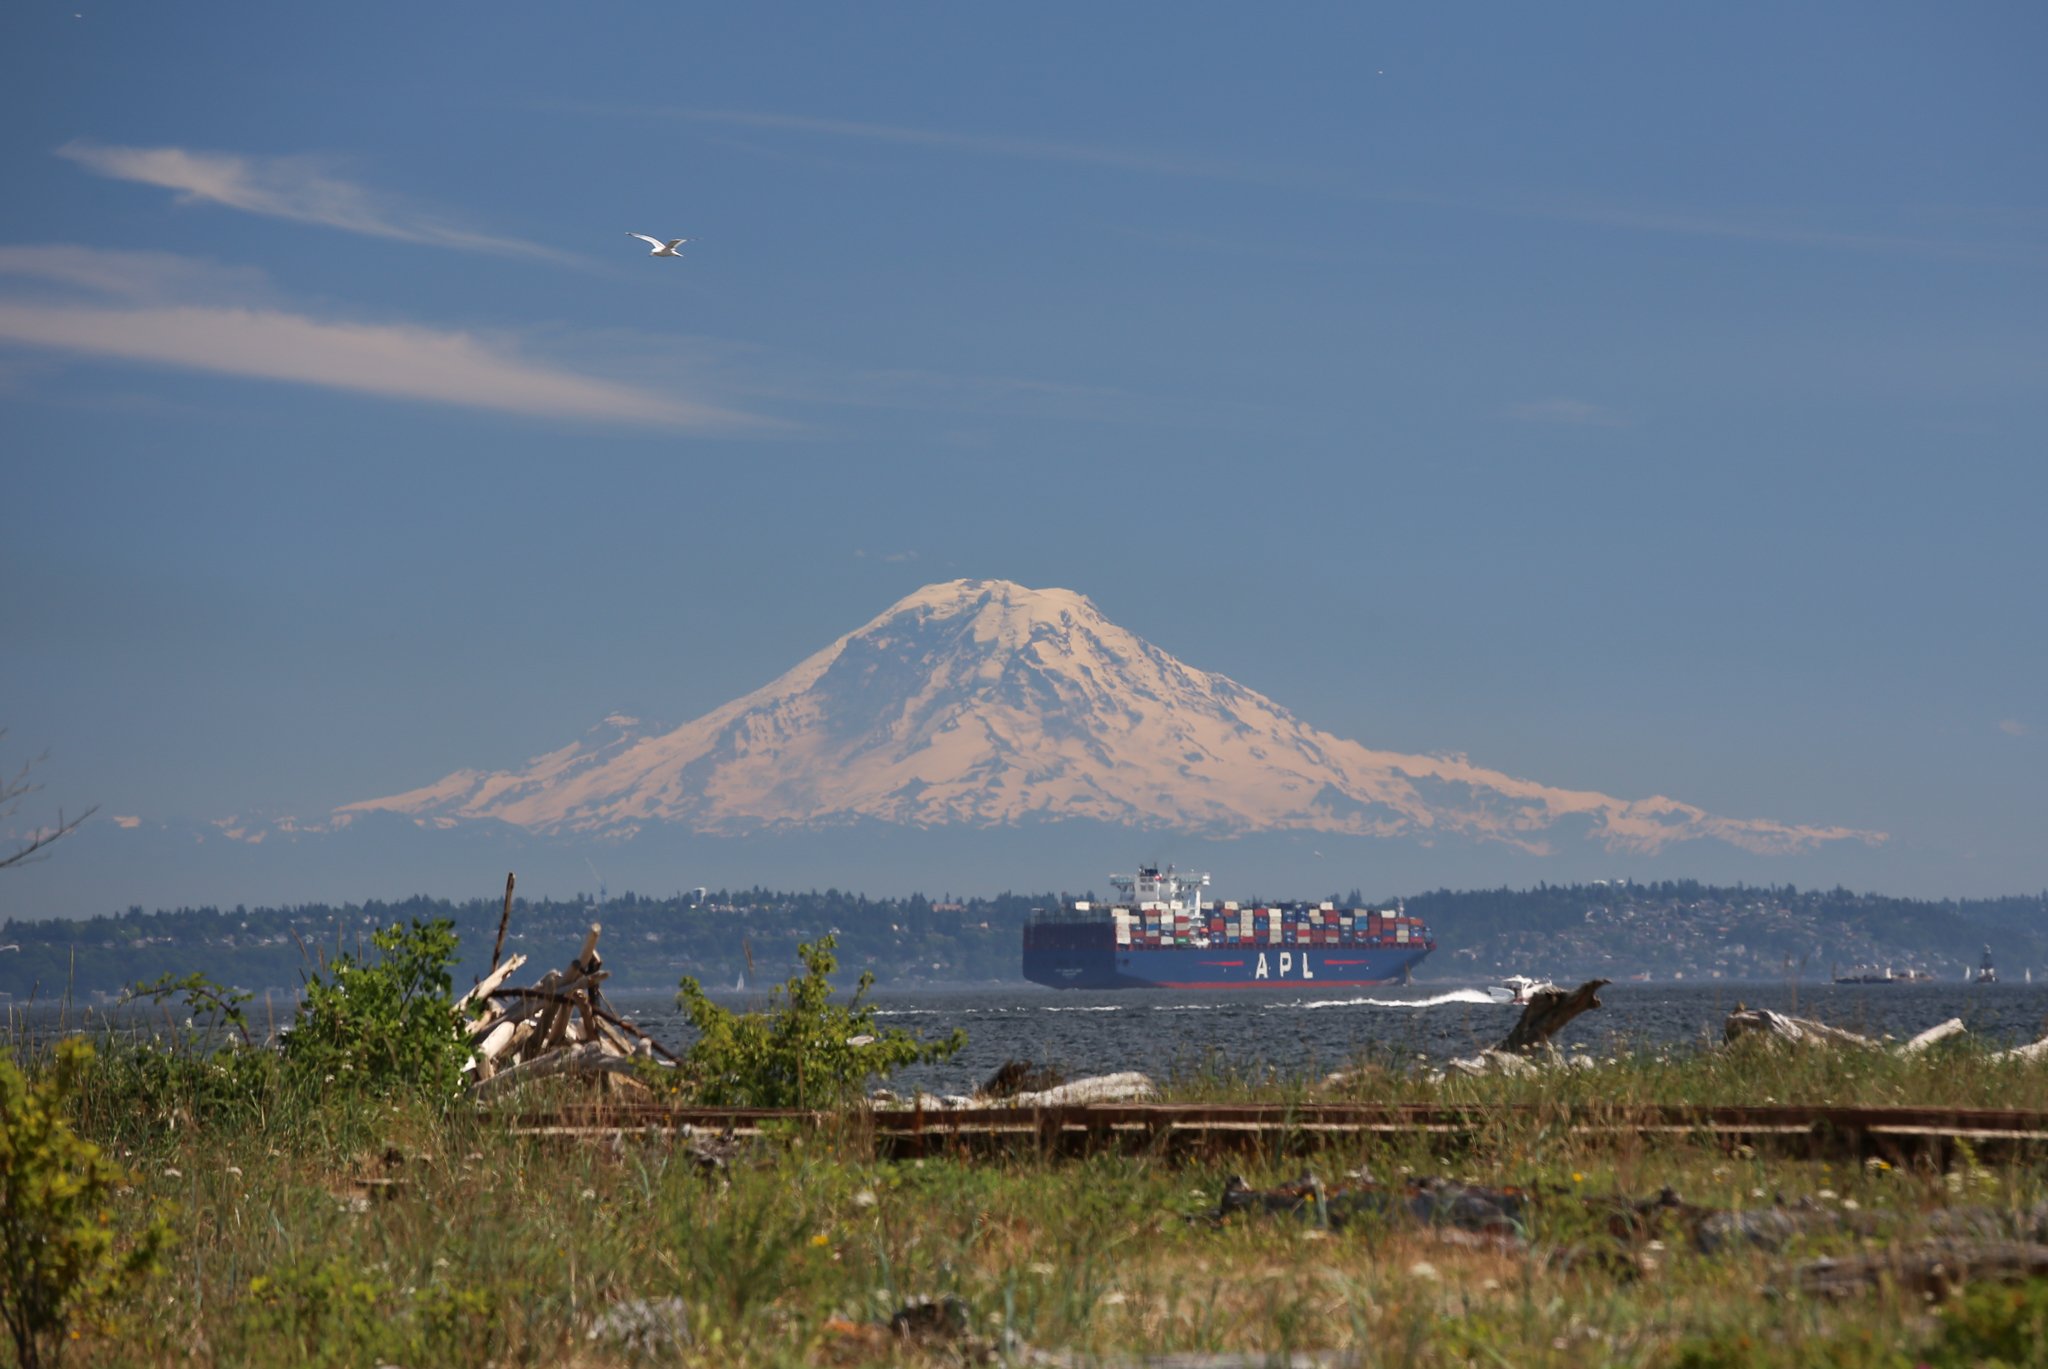
Mount Rainier’s sunrise side offers breathtaking views and unforgettable experiences for photographers and hikers alike. This area, known for its stunning vistas and diverse trails, provides unique opportunities to capture the mountain’s beauty as it’s bathed in the first light of day. From accessible viewpoints to challenging hikes, the sunrise side of Mount Rainier caters to all levels of outdoor enthusiasts seeking to witness nature’s daily spectacle.
What Are the Best Hiking Trails for Sunrise Photography on Mount Rainier’s Sunrise Side?

The sunrise side of Mount Rainier boasts several exceptional trails for those looking to capture the perfect sunrise shot. Here are some of the top options:
- High Rock Lookout
- Trail Length: 3 miles round trip
- Difficulty: Moderate to challenging
- Estimated Time: 2-3 hours to summit
-
Features: 360-degree views, unique rock outcrop
-
Fremont Lookout Tower
- Trail Length: 5.6 miles round trip
- Difficulty: Moderate
- Estimated Time: 3-4 hours to summit
-
Features: Panoramic views, historic fire lookout
-
Sourdough Ridge Trail
- Trail Length: 4-6 miles (loop)
- Difficulty: Moderate
- Estimated Time: 2-3 hours to viewpoint
-
Features: Views of Mt. Rainier and surrounding landscapes
-
Skyline Trail
- Trail Length: 5.5 miles (loop)
- Difficulty: Moderate to challenging
- Estimated Time: 3-4 hours to summit
-
Features: Panoramic views, closer to Mt. Rainier
-
Silverforest Trail
- Trail Length: 2-3 miles
- Difficulty: Easy
- Estimated Time: 1-2 hours to viewpoint
- Features: Forest views, White River, Emmons Moraine glacier
Each trail offers unique perspectives of Mount Rainier and the surrounding landscape, catering to different skill levels and time constraints.
Where Are the Top Viewpoints for Sunrise Photography on Mount Rainier’s Sunrise Side?

For those seeking the perfect vantage point to capture Mount Rainier at sunrise, consider these top viewpoints:
- High Rock Lookout
- Elevation: 5,685 feet
- GPS Coordinates: 46.666416, -121.891251
- Access: 3-mile hike with significant elevation gain
-
Amenities: None at the top, nearby free camping
-
Fremont Lookout Tower
- Elevation: 7,193 feet
- Location: Sunrise area
- Access: 5.6-mile round trip hike
-
Amenities: No overnight camping allowed
-
Sourdough Ridge
- Elevation: Up to 6,400 feet
- GPS Coordinates: 46.9020666, -121.5721791 (White River Entrance)
- Access: Hike from White River Entrance
-
Amenities: Facilities at Sunrise Visitor Center (not open early)
-
Skyline Trail
- Elevation: Up to 7,200 feet
- GPS Coordinates: 46.784722, -121.741667 (Paradise Visitor Center)
- Access: Hike from Paradise Visitor Center
- Amenities: Facilities at Paradise Visitor Center (not open early)
These viewpoints offer diverse perspectives of Mount Rainier and the surrounding landscape, each with its own unique charm and photographic opportunities.
What Are the Optimal Times to Arrive for Sunrise Photography on Mount Rainier’s Sunrise Side?
To capture the perfect sunrise shot on Mount Rainier’s sunrise side, timing is crucial. Here’s a breakdown of sunrise times and recommended arrival times:
Sunrise Times
- Summer (June-August): 5:00-6:00 AM
- Spring/Autumn (April-May, September-October): 6:00-7:00 AM
- Winter (November-March): 7:00-8:00 AM
Optimal Arrival Times
- Arrive at the trailhead 2-3 hours before sunrise
- For Blue Hour shots, arrive even earlier
| Season | Sunrise Time | Recommended Arrival Time |
|---|---|---|
| Summer | 5:00-6:00 AM | 2:00-3:00 AM |
| Spring/Autumn | 6:00-7:00 AM | 3:00-4:00 AM |
| Winter | 7:00-8:00 AM | 4:00-5:00 AM |
Remember to factor in hiking time to reach your chosen viewpoint before sunrise.
What Transportation Options and Parking Facilities Are Available on Mount Rainier’s Sunrise Side?
Accessing Mount Rainier’s sunrise side requires some planning. Here’s what you need to know about transportation and parking:
Entrances and Parking
- White River Entrance: Primary access point for the Sunrise area
- GPS Coordinates: 46.9020666, -121.5721791
- Parking available near trailheads, but fills quickly in peak season
- Entry pass required, purchasable in advance
Transportation Options
- Driving: Most common and flexible option
- Ensure vehicle is suitable for mountain roads
-
Check road conditions, especially in winter
-
Public Transportation: Limited options available
-
Carpooling recommended during peak season
-
Seasonal Considerations:
- Winter road closures may affect access
- Check park website for current conditions and closures
Parking Tips
- Arrive early to secure a spot, especially on weekends and holidays
- Have a backup plan in case preferred parking area is full
- Display valid park pass in vehicle at all times
By planning ahead and arriving early, you can ensure a smooth start to your sunrise photography adventure on Mount Rainier’s sunrise side.
What Equipment Should Photographers Bring for Sunrise Shoots on Mount Rainier’s Sunrise Side?
To capture the perfect sunrise shot on Mount Rainier’s sunrise side, come prepared with the right gear:
- Camera Equipment
- DSLR or mirrorless camera
- Wide-angle lens (16-35mm recommended)
- Telephoto lens for distant shots
- Sturdy tripod for long exposures
-
Remote shutter release or intervalometer
-
Filters
- Neutral Density (ND) filters
- Graduated ND filters
-
Polarizing filter
-
Accessories
- Extra batteries (cold weather drains them faster)
- Memory cards
- Lens cleaning kit
-
Headlamp with red light mode
-
Outdoor Gear
- Warm, layered clothing
- Waterproof jacket and pants
- Sturdy hiking boots
- Gloves with touchscreen compatibility
-
Hand and foot warmers
-
Safety Items
- First aid kit
- Navigation tools (map, compass, GPS)
- Emergency shelter
- Water and snacks
Remember to pack light but be prepared for changing weather conditions and long hours outdoors.
How Can Photographers Capture Unique Sunrise Shots on Mount Rainier’s Sunrise Side?
To create standout sunrise images on Mount Rainier’s sunrise side, try these techniques:
- Utilize Foreground Elements
- Incorporate wildflowers, rocks, or trees in the foreground
-
Use leading lines to draw the eye towards the mountain
-
Experiment with Exposure
- Try long exposures for smooth clouds or water movement
-
Bracket exposures to capture a wider dynamic range
-
Play with Composition
- Use the rule of thirds to place Mount Rainier off-center
-
Experiment with vertical and horizontal orientations
-
Capture Different Phases of Sunrise
- Start with Blue Hour shots before sunrise
- Document the changing colors as the sun rises
-
Continue shooting after sunrise for warm, golden light
-
Include Human Elements
- Add scale by including hikers or photographers in the frame
-
Capture silhouettes against the colorful sky
-
Focus on Details
- Zoom in on interesting textures or patterns on the mountain
- Capture reflections in lakes or streams
By combining these techniques with the stunning natural beauty of Mount Rainier’s sunrise side, photographers can create truly memorable images.
Reference:
– One of the Best Sunrise Hikes Around Mt. Rainier
– Capturing Sunrise, Sunset, And The Milky Way At Mount Rainier’s Sunrise
– Mount Rainier Photography Guide – Jonathan Yu

